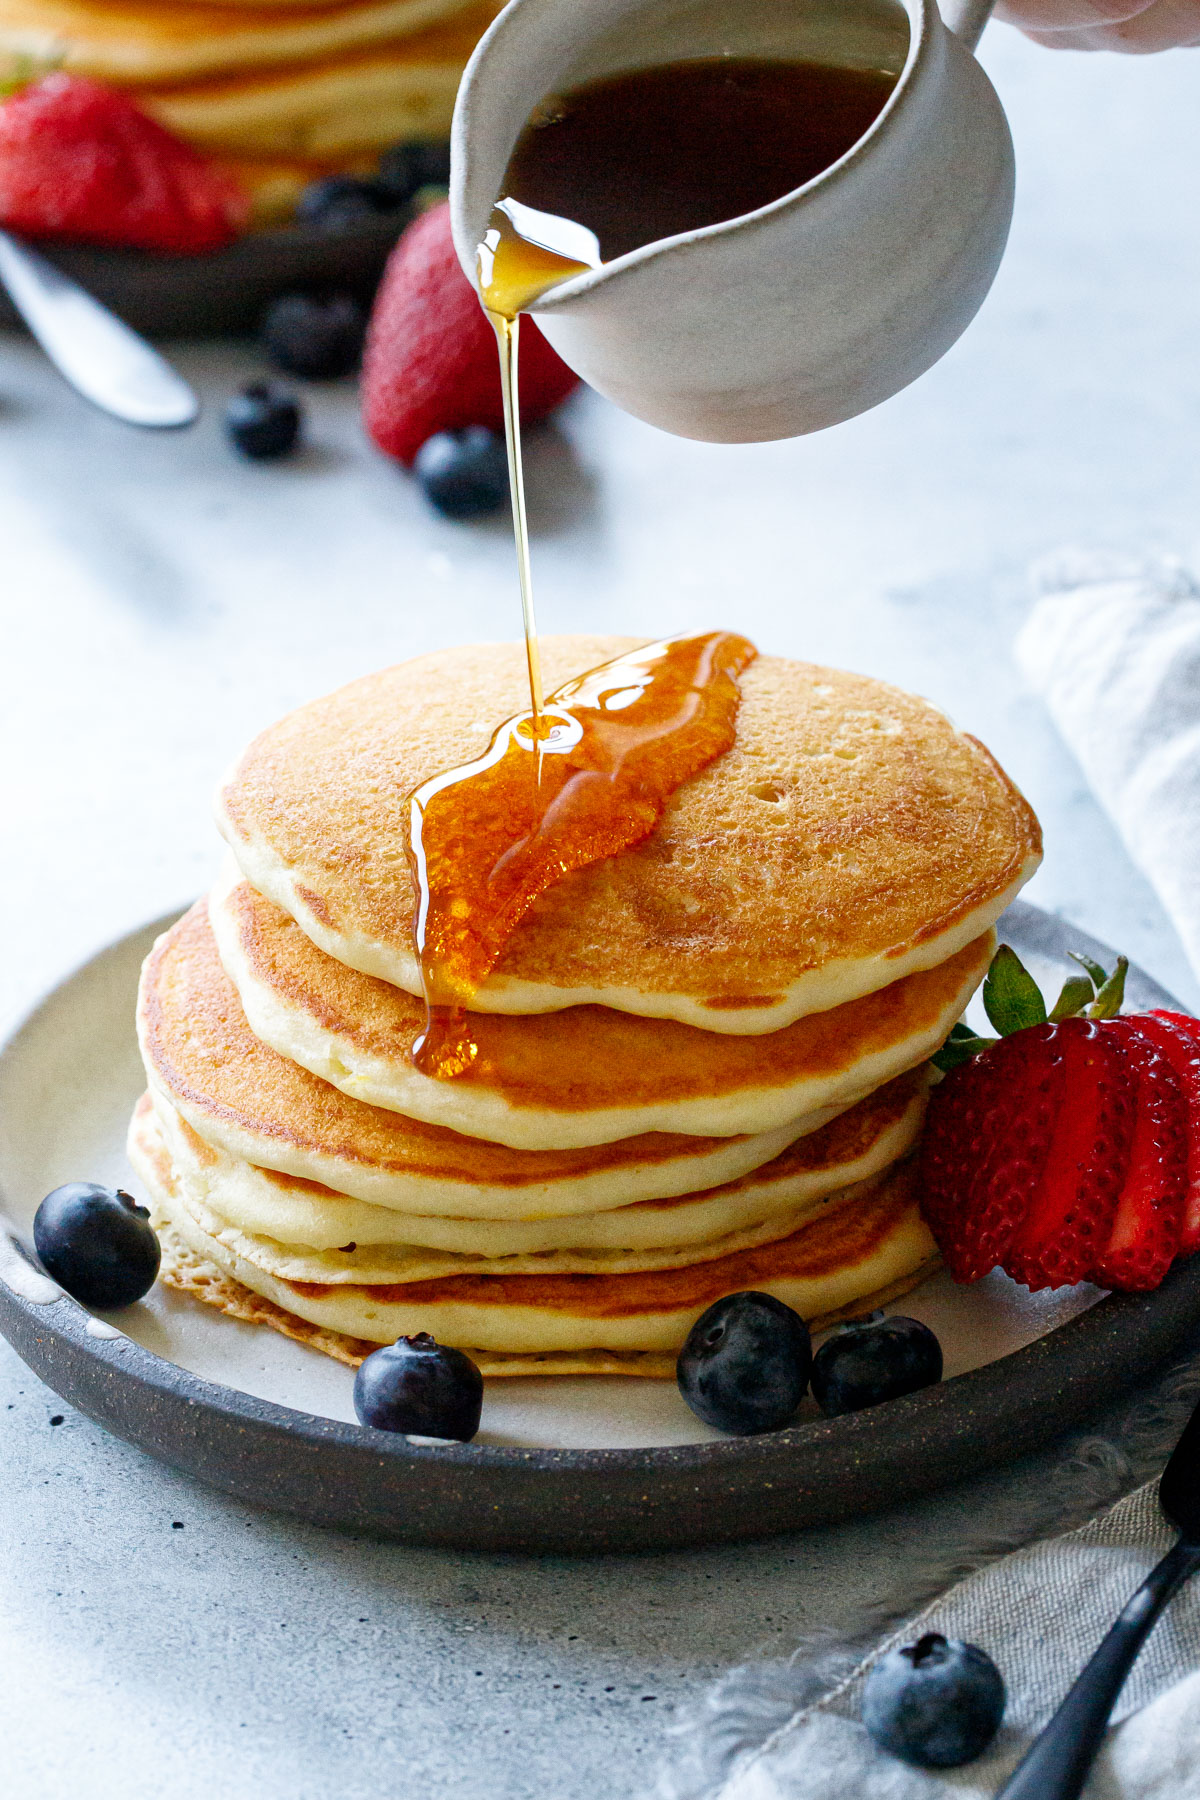
Classic buttermilk pancakes made with extra virgin olive oil instead of the typical melted butter. With a hint of lemon zest that plays beautifully with the fruitiness of the olive oil, the result is a unique and utterly delicious twist on a breakfast classic.
Weekends are for brunching, and these olive oil pancakes will satisfy your breakfast cravings without fussy reservations or long waits. Moist, light and delightfully fluffy, with a unique flavor that’s all their own, this may well become your new go-to pancake recipe.
I have a bit of a love-hate relationship with brunch. I love the food, of course, from French toast and pancakes to huevos rancheros and eggs Benedict. But Brunch is also a major pain: you either have to go early to beat the crowds, have the foresight to have made a reservation, or be willing to wait for a ridiculous long time for a table.
Instead of dealing with the hassle of the Sunday morning hoards, an easy brunch at home is so much more relaxing (pants not required). At the same time, no one really feels like slaving over the stove first thing in the morning, so a quick and easy recipe is key, and I should have you know that these olive oil pancakes can be whipped up in less than 30 minutes.
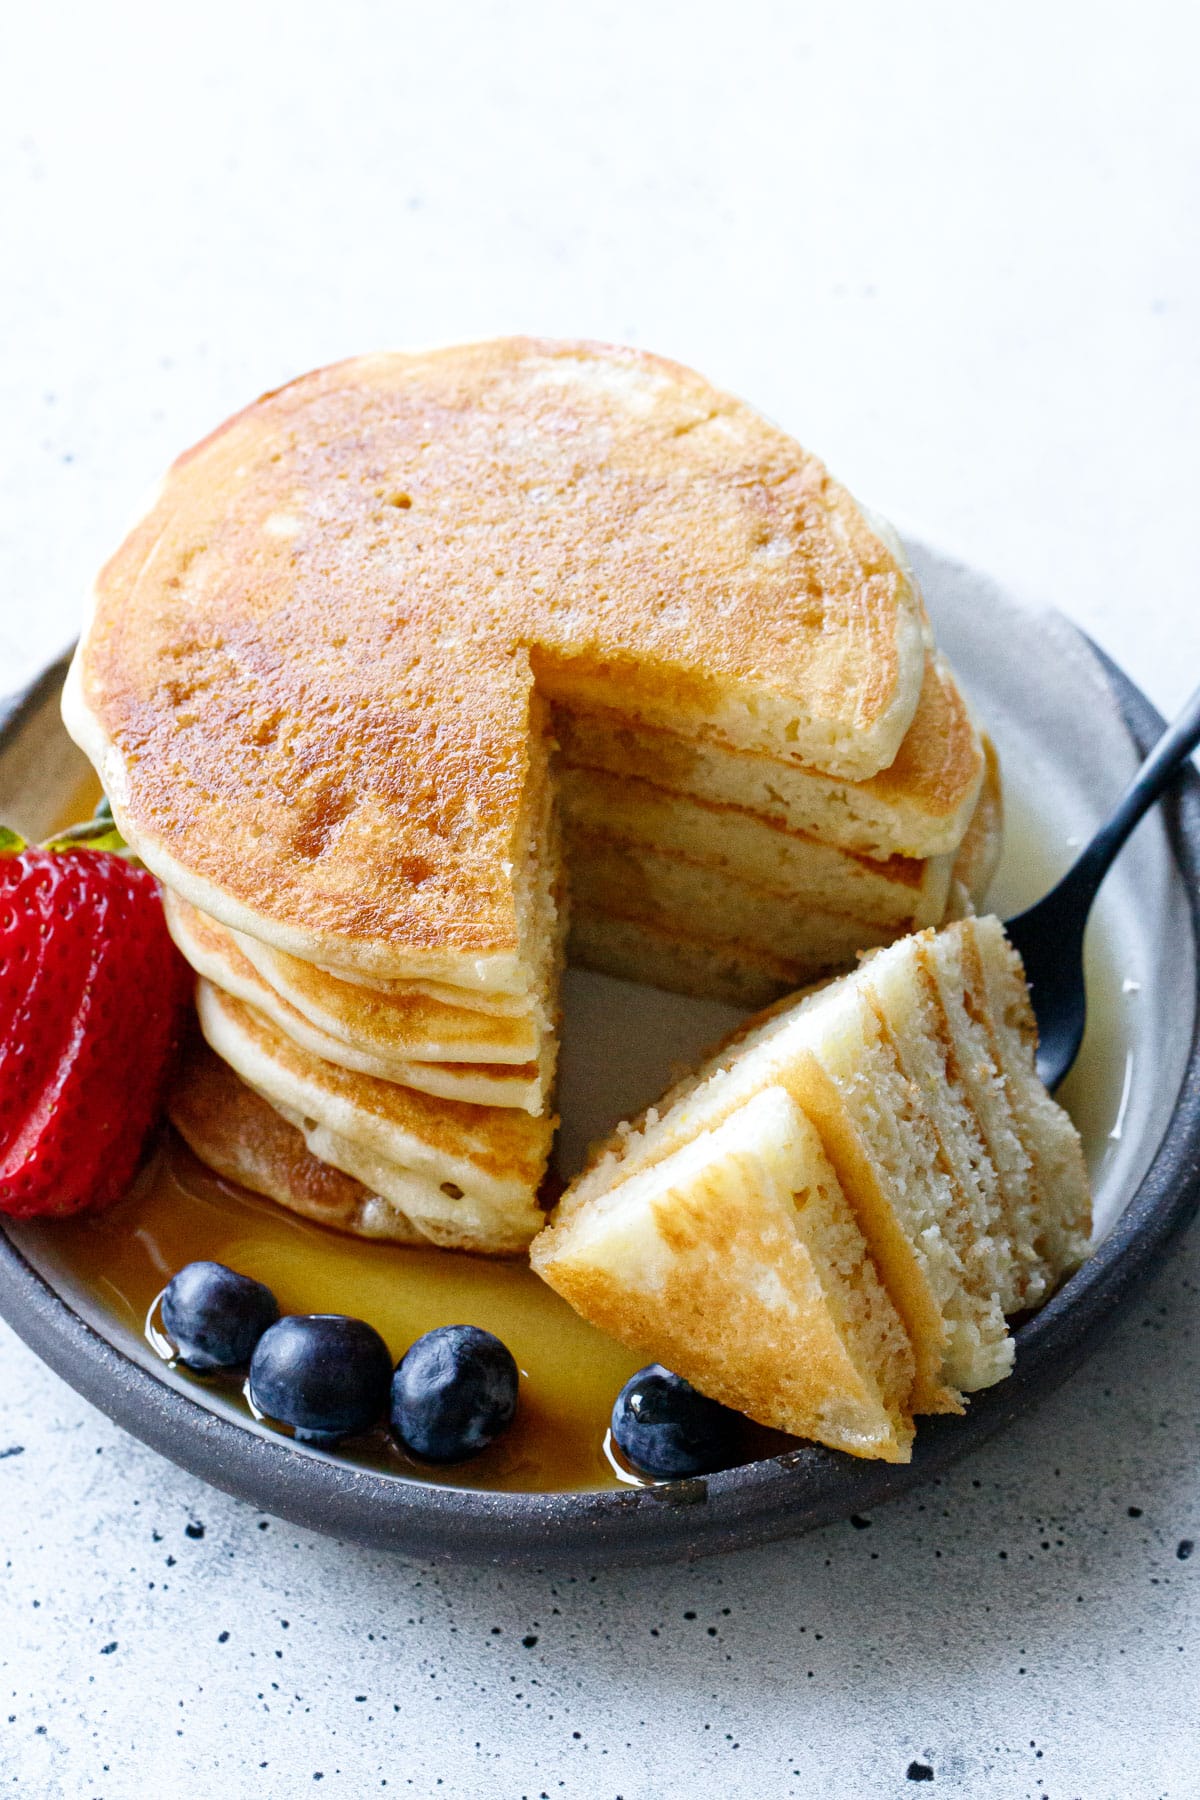
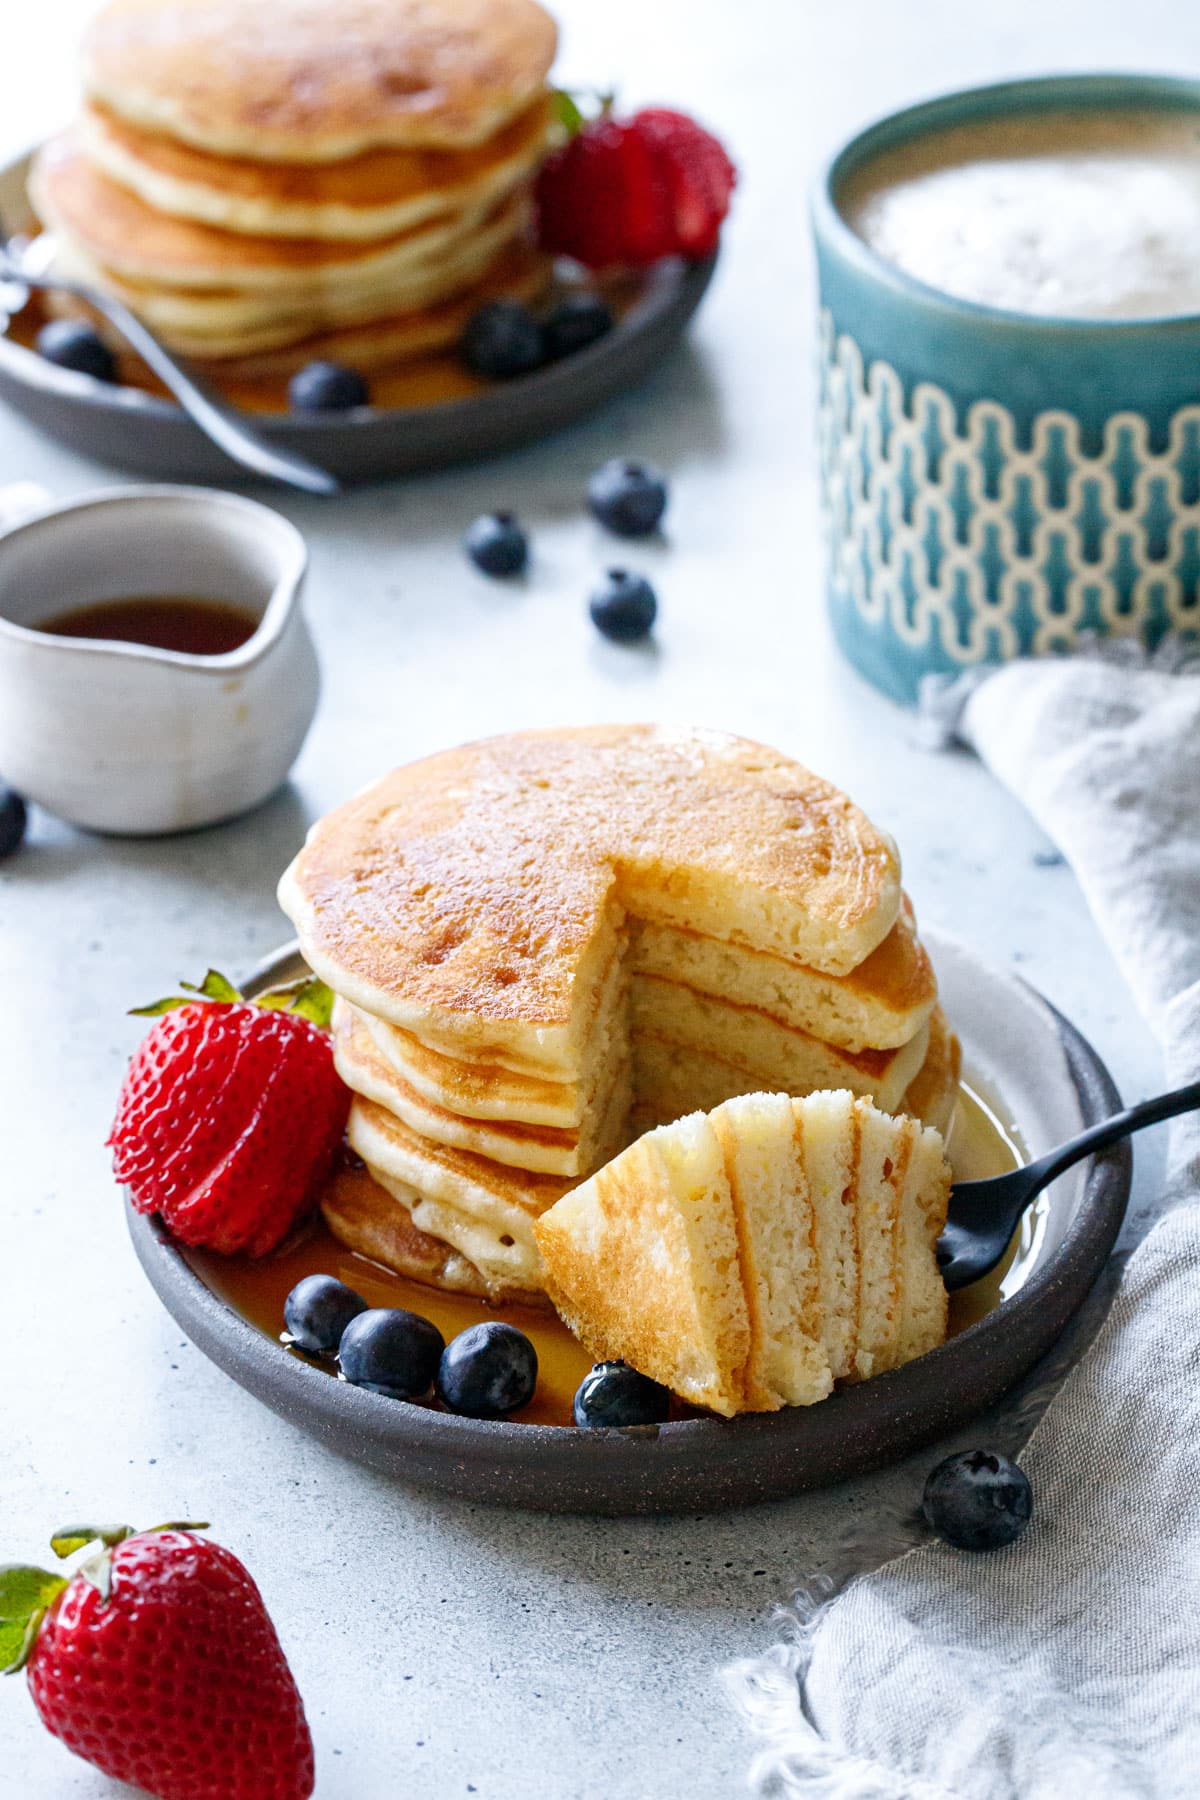
Using extra virgin olive oil in place of the melted butter in this recipe adds moisture in addition to flavor, resulting in a light and fluffy pancake that’s perfectly tender and moist, not dry or doughy in the least.
And speaking of flavor, since I know you’re probably wondering if you can actually taste the olive oil here: the answer is yes! But not overpoweringly so. You definitely get a hint of olive oil flavor in the final pancake, the fruity notes of which are complimented by the lemon zest in a symphony of flavor. I think orange zest would be lovely here too!
I recommend using a mid-shelf extra virgin olive oil here, one that’s bright and fruity (as opposed to grassy or peppery). Save the good stuff for another use (since the heat of cooking negates many of the compounds that make the good stuff worth the cost, it’s really wasted in any recipe that involves heat and best saved for finishing dishes or dipping with bread).
If you’d rather not taste the olive oil in the final pancake, you can use a light olive oil here instead, or any other neutral oil for that matter. But might I suggest trying it with the EVOO first… you might just be pleasantly surprised at how lovely that flavor works here.
-
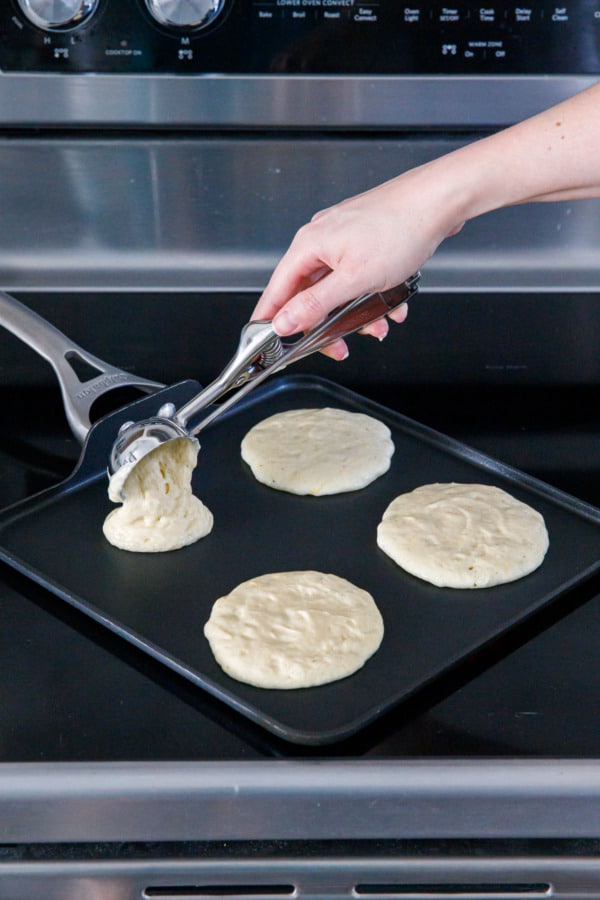
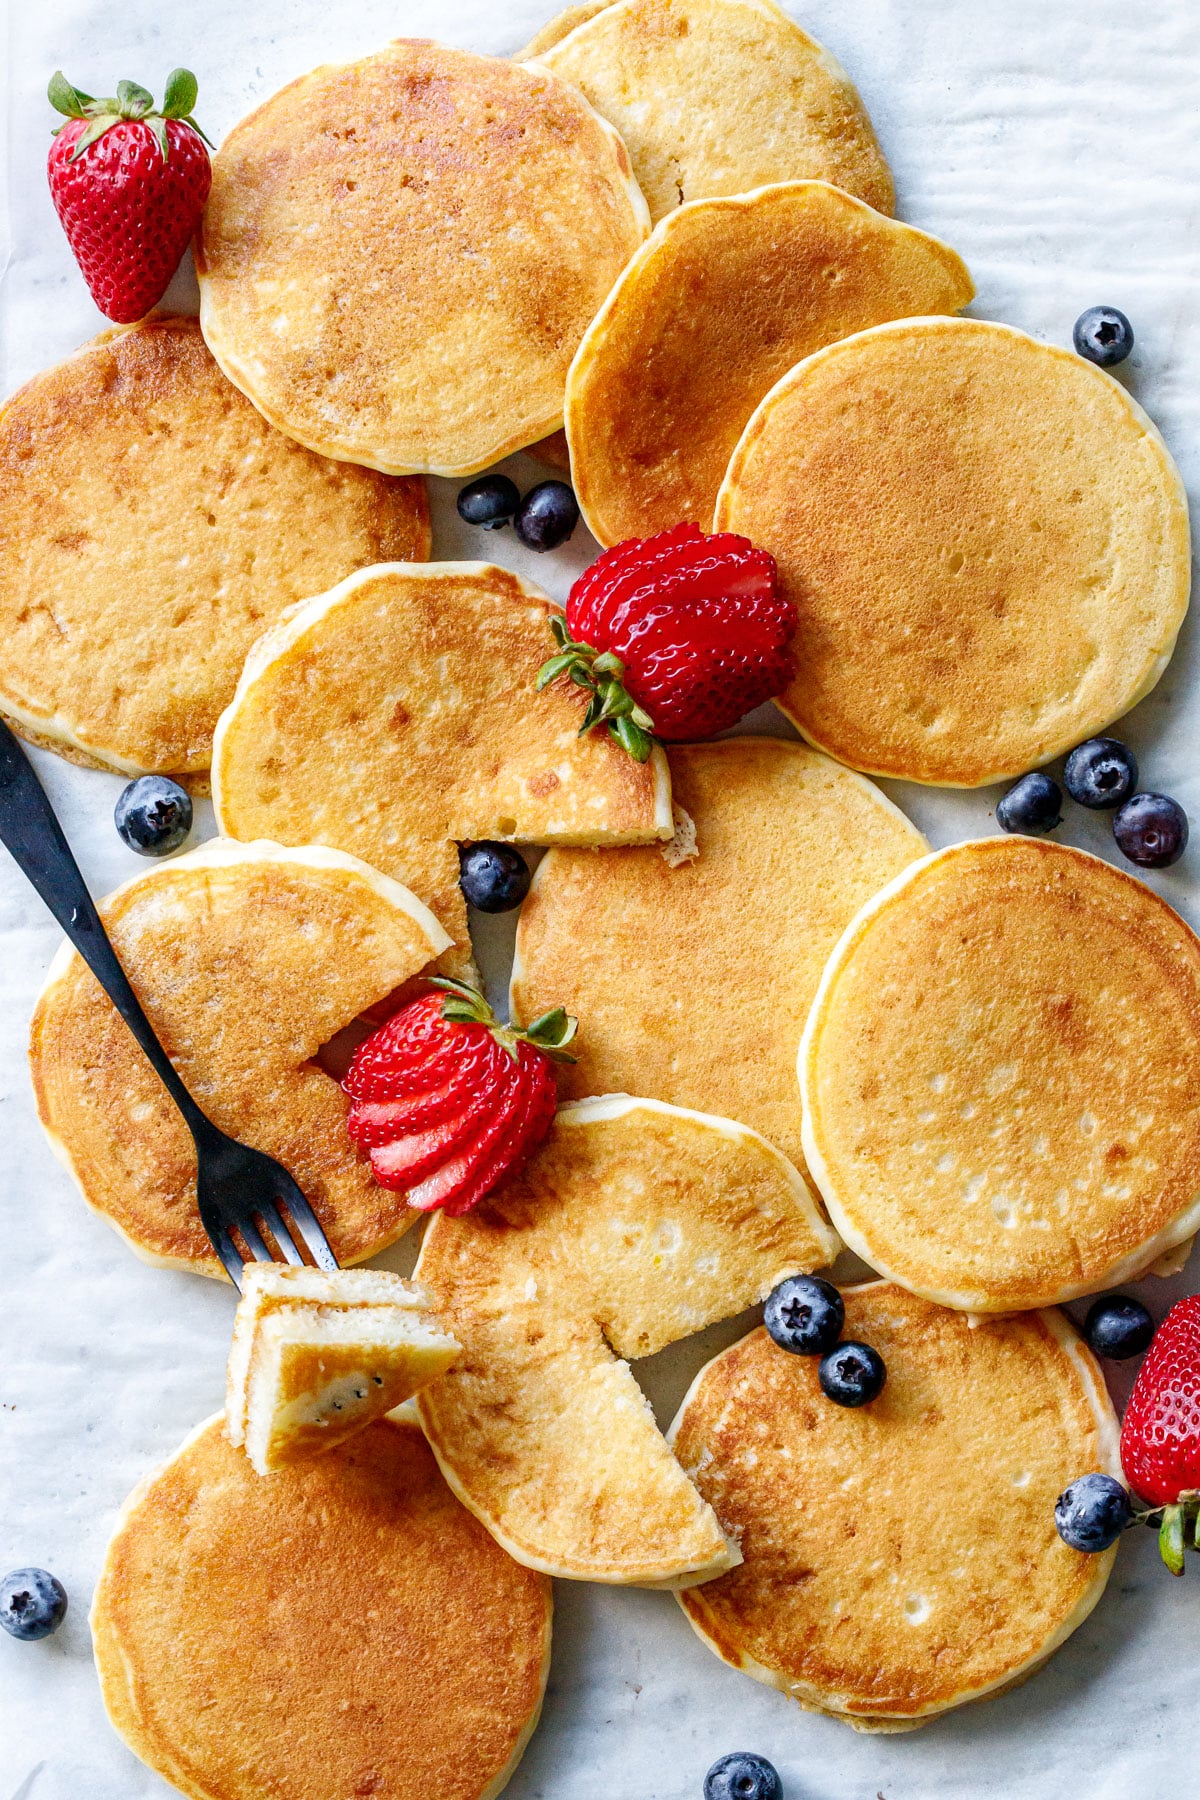
- Use a large cookie scoop to ladle even amounts of batter onto the griddle pan.
-
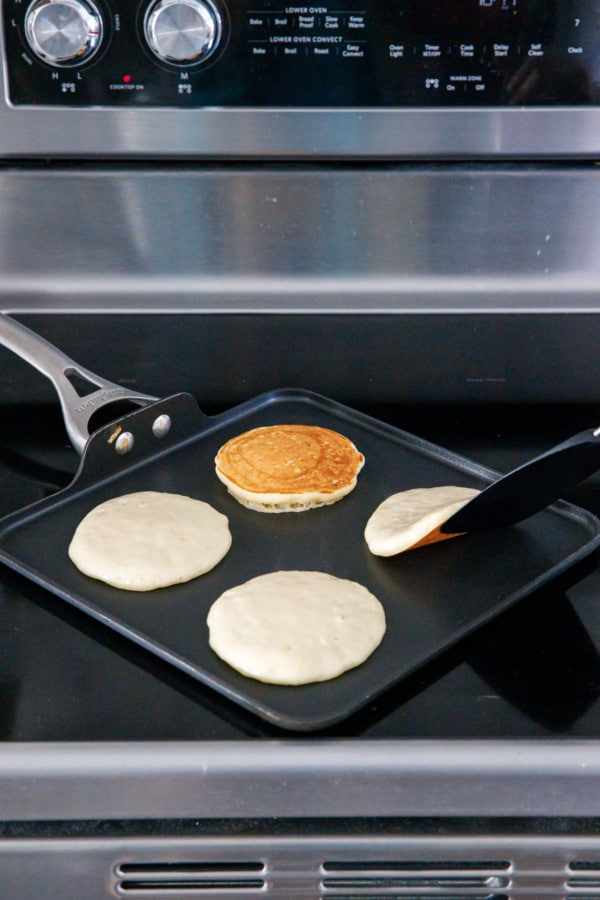
- Flip using a thin spatula when bottoms are golden brown and tops are bubbly.
Tips for Perfect Pancakes
- A good non-stick griddle really doesn’t need any oil or butter at all to cook pancakes. I’ll sometimes give my griddle the barest brush of fat before cooking the pancakes by rubbing it with a paper towel dabbed with a bit of olive oil or butter. But I usually don’t need to, and cooking without any oil or butter at all will produce smooth, evenly brown tops (instead of tops that are mottled and uneven where the fat bubbled up into the batter).
- Use a cookie scoop to portion out the batter. Plop it onto the skillet, rotating slightly as the batter flows out, which will help create perfect rounds. Then use the back of the scoop to spread the batter out into a 4-inch-round (the batter is on the thick side so it may not spread out entirely on its own).
- Keep an eye on the heat as you cook. Most likely your first batch of pancakes will take the longest to cook, but the second and third batches will cook much faster unless you’ve adjusted the heat down as you go. Ideally the pancakes should cook in about 2 minutes per side; if they are browning much quicker, lower your heat (otherwise you’ll end up with overly brown pancakes with raw middles).
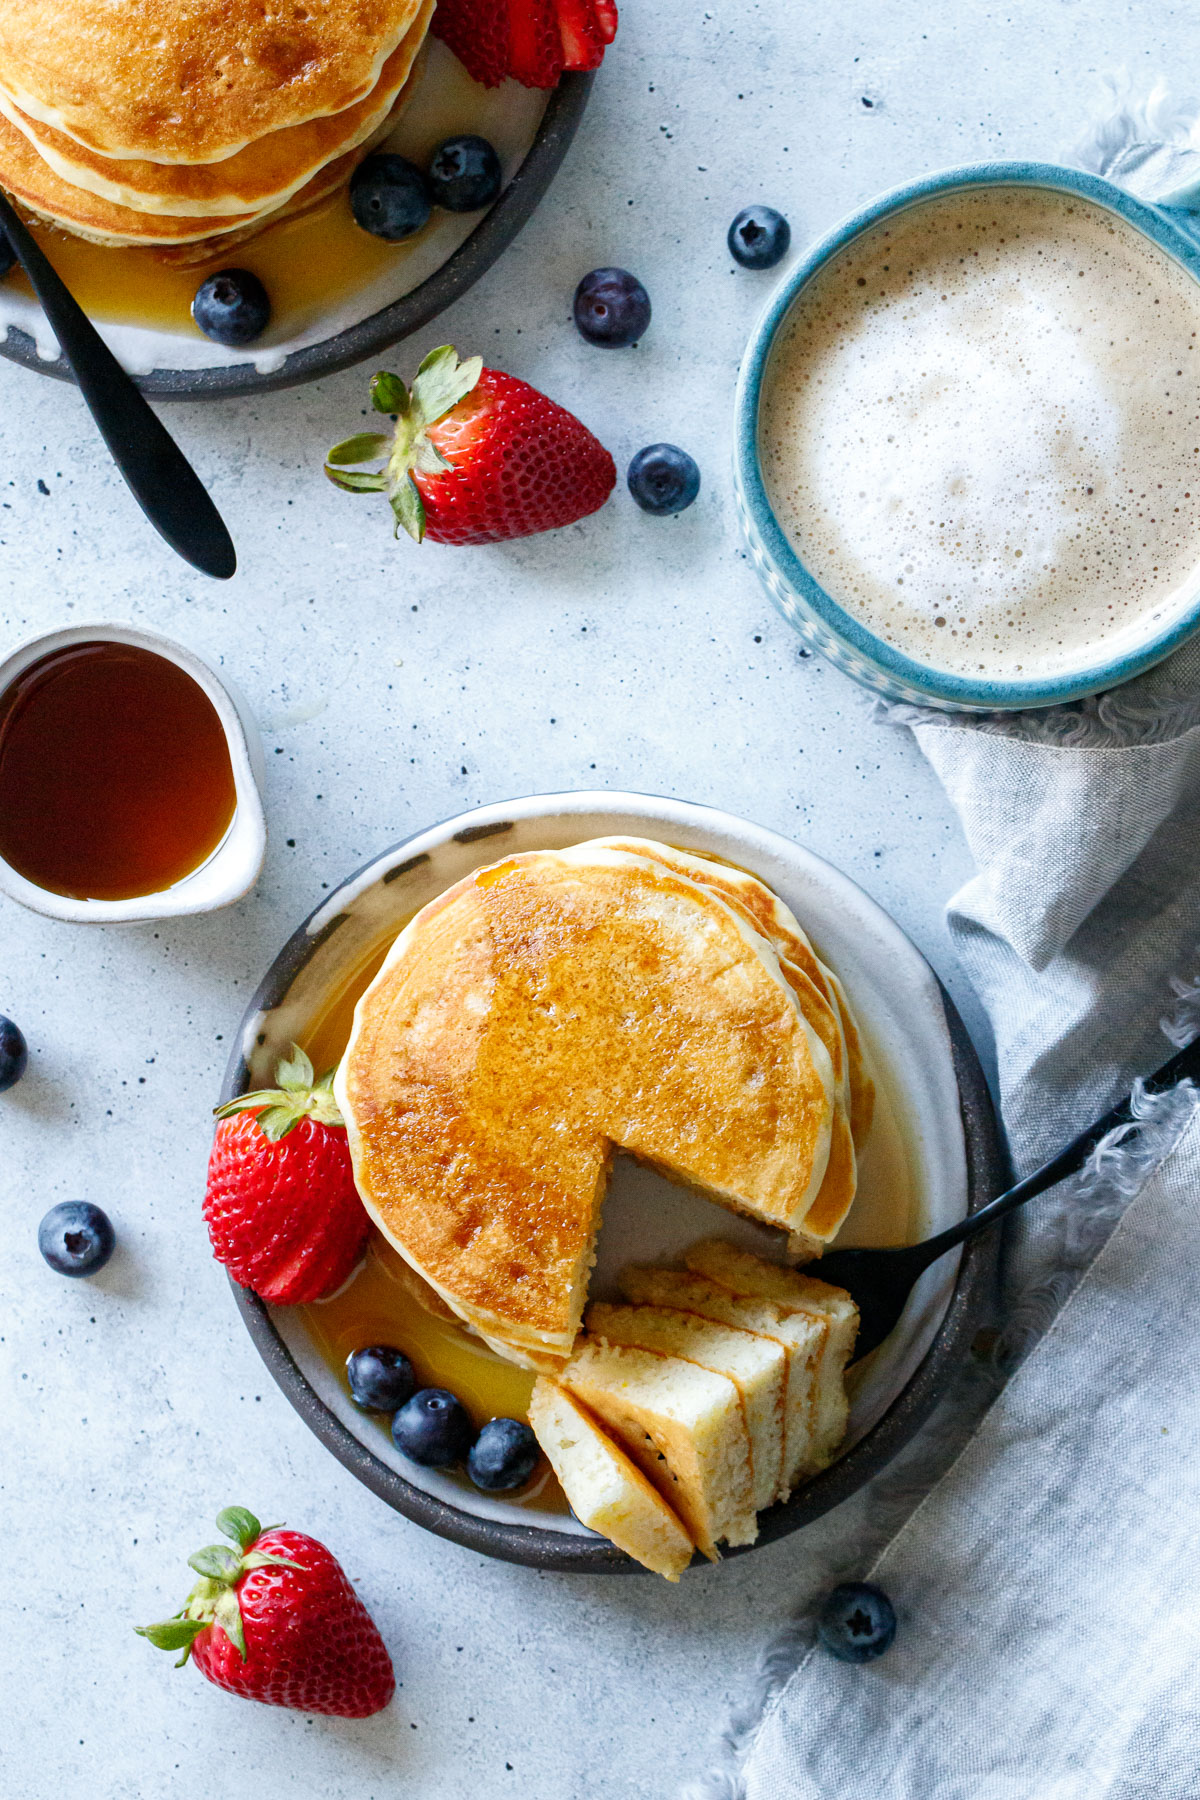
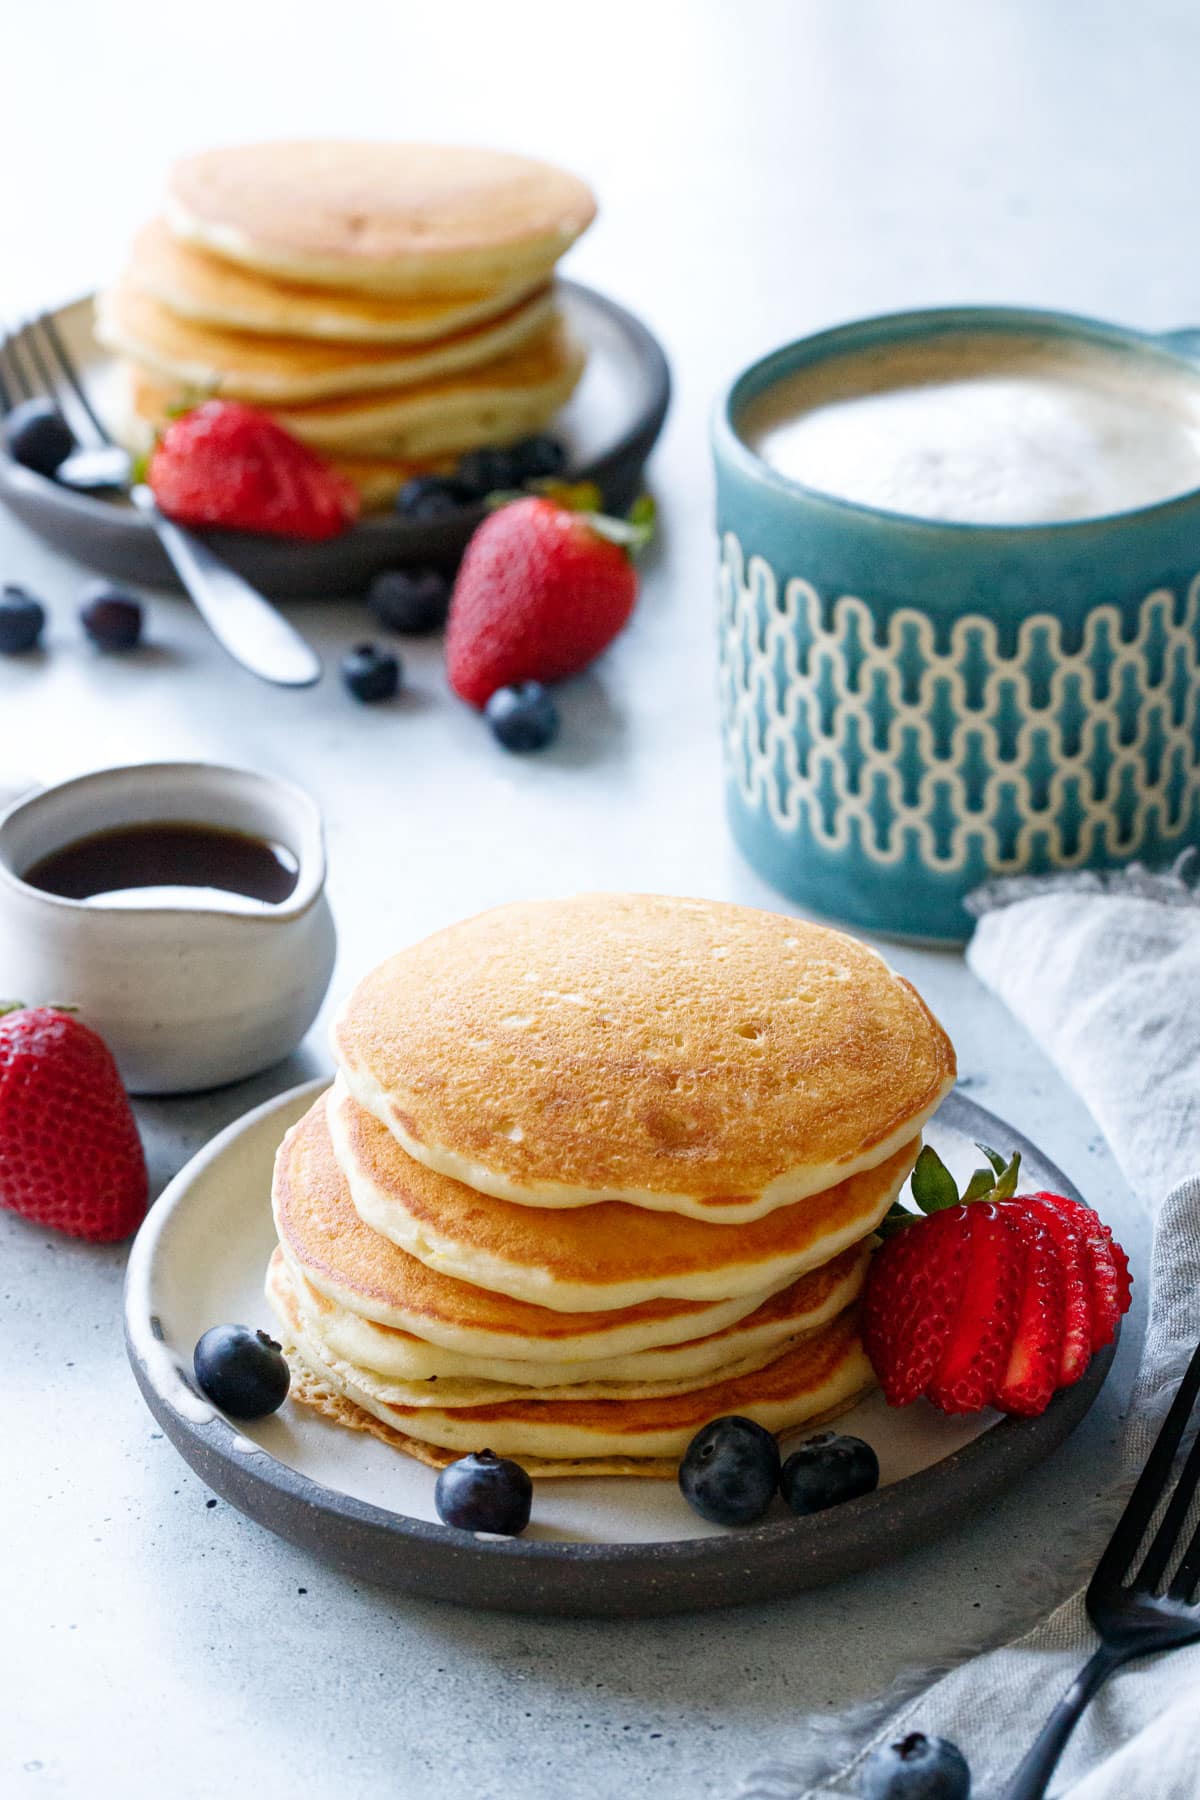
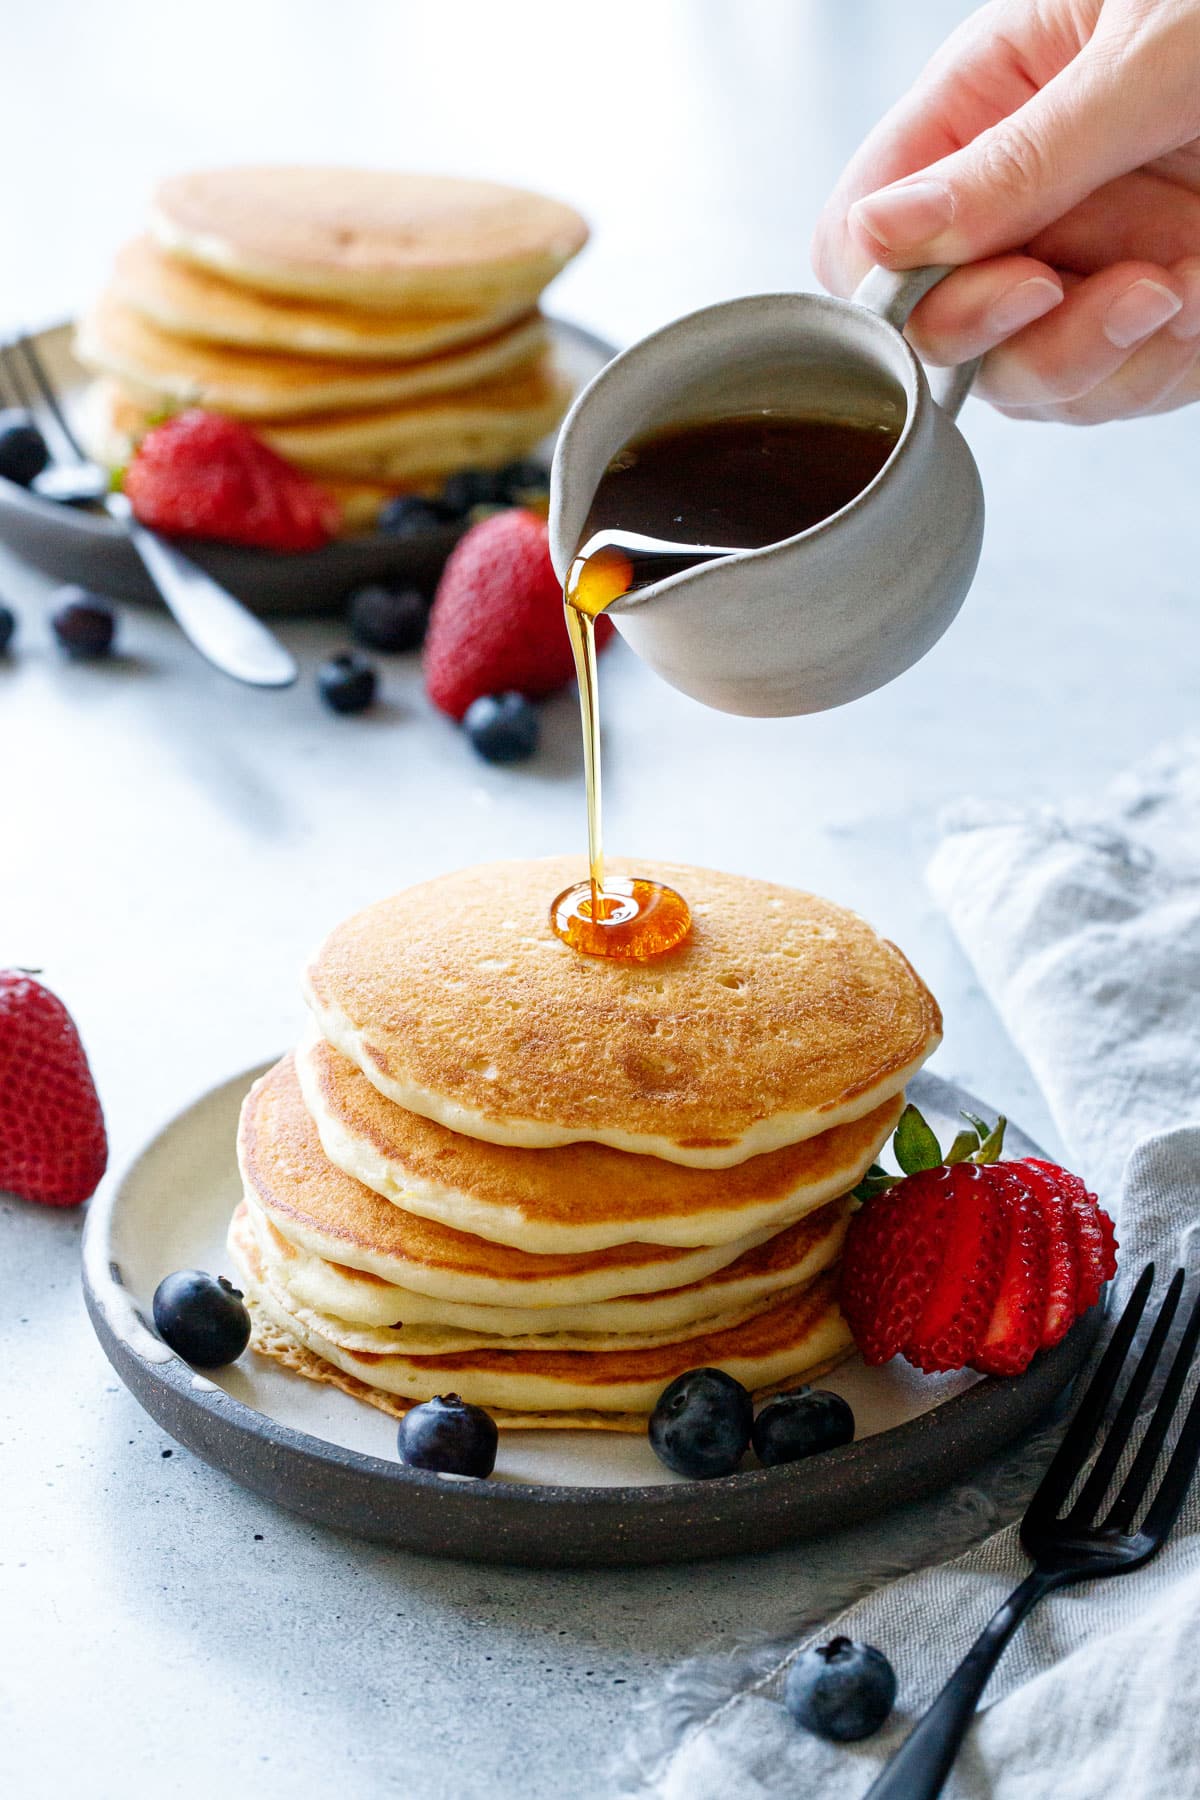
(Like the coffee mug? Taylor made it! It’s a bit… gigantic [he’s going to be buzzing later that’s for sure] but I love the color and pattern on it. And the plates and mini-syrup pourer are some of my own pieces! I love that everything in this photo short of the forks were handmade by us.)
Serving & Storage
You can keep pancakes warm on a cookie sheet in a 200 degree oven while you cook the rest of the batch.
This recipe makes a pretty small batch (about twelve 4-inch pancakes), but if you have leftovers, pop them in an airtight container or wrap in plastic wrap or foil and refrigerate.
To reheat, place on a cookie sheet in a 350 degree oven for 3 to 5 minutes (we often put them in as the oven is preheating).
If you want to freeze them, arrange in a single layer on a parchment lined cookie sheet and freeze until solid, then transfer to a zip-top back. Frozen pancakes can be reheated in much the same way, though they’ll take a few minutes longer.
Swaps & Substitutions
In place of extra virgin olive oil you can use light olive oil or any other neutral-flavored olive oil instead.
The lemon zest is optional, however I think it adds a lot to these otherwise plain pancakes. Orange zest would be tasty too!
Whole, full fat buttermilk is what I recommend here. If you don’t have buttermilk, powdered buttermilk is the best substitute by far (mix with water or whole milk according to the package instructions). The next best substitute is milk mixed with plain greek yogurt or sour cream (about half and half). I’m not a fan of the whole vinegar and lemon juice swap that’s often recommended.
All purpose flour is what is called for in this recipe, but if you have access to a lower protein, bleached flour like White Lily, that’s going to give you an even lighter, fluffier pancake. I actually used half and half unbleached AP and White Lily AP for my batch, with lovely results. I do recommend sifting the flour either way.
You can certainly add mix ins here, I think blueberries or chopped dark chocolate would be particularly lovely). When adding mix-ins to pancakes, I actually don’t recommend mixing them in at all. Instead, scoop your batter onto the preheated griddle, then sprinkle a few blueberries (or some chocolate or nuts or whatever) on top. This will ensure even distribution across the entire batch.
 Yield: 4 servings (12 pancakes)
Olive Oil Pancakes
Prep Time: 10 minutes Cook Time: 20 minutes Total Time: 30 minutes Classic buttermilk pancakes made with extra virgin olive oil instead of the typical melted butter, with a hint of lemon zest. No ratings yet Print Recipe Pin Recipe Leave a Review
Ingredients
- 1 ¼ cup / 156 g all-purpose flour, sifted
- 2 tablespoons / 24 g sugar
- 1 ½ teaspoons baking powder
- ½ teaspoon baking soda
- ½ teaspoon fine sea salt
- 1 large egg
- 1 cup / 250 g buttermilk
- 3 tablespoons / 42 g extra virgin olive oil
- 1 teaspoon finely grated lemon zest
- ½ teaspoon vanilla extract
Instructions
- In a mixing bowl, whisk together flour, sugar, baking powder, baking soda, and salt until evenly incorporated.
- In a small bowl or 2-cup glass measuring cup, whisk together buttermilk, egg, oil, lemon zest, and vanilla until smooth. Add to bowl with dry ingredients and whisk just until smooth (it will still be a bit lumpy, just as long as there aren’t any huge clumps of flour).
- Heat a nonstick skillet or griddle pan over medium heat. Be patient and let the pan come up to temperature fully.
- Rub a little butter or olive oil on the skillet with a paper towel if necessary (a good nonstick pan will barely need any greasing at all).
- Ladle approximately 3 tablespoons of batter for each pancake (I use a Large cookie scoop for this, filling it just barely level), leaving enough space between pancakes so they don’t touch as they spread out. Use the back of the scoop to gently spread into 4-inch rounds if necessary as the batter is on the thick side.
- Cook for about 2 to 3 minutes or until bottoms are deep golden brown; then flip and cook for another 1 to 2 minutes until browned. If you find your pancakes are browning more quickly, turn down the heat (the centers need time to cook through).
- Transfer to serving plates and serve, or place on a baking sheet in a 200 degree F oven to keep warm while you finish cooking the rest of the pancakes. Enjoy warm, drizzled with maple syrup.
 Vegetarian All images and text © Lindsay Landis for Love & Olive Oil.
Did you make this recipe?
Let us know what you think! Leave a Review below or share a photo and tag me on Instagram with the hashtag
#loveandoliveoil.


