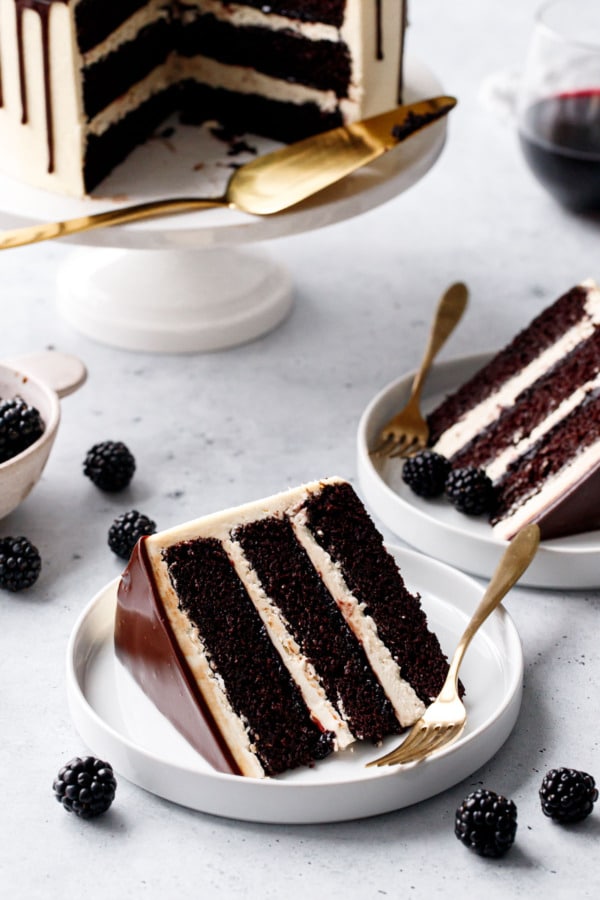
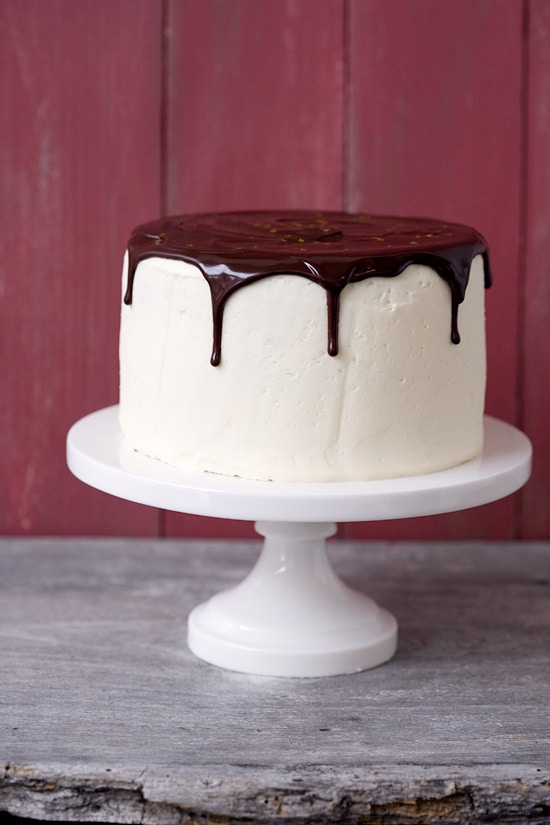
This boozy twist on a classic chocolate layer cake is made with red wine for a rich and robust chocolate cake with unique fruity undertones and an incredible depth of flavor unlike any other chocolate cake you’ve had before.
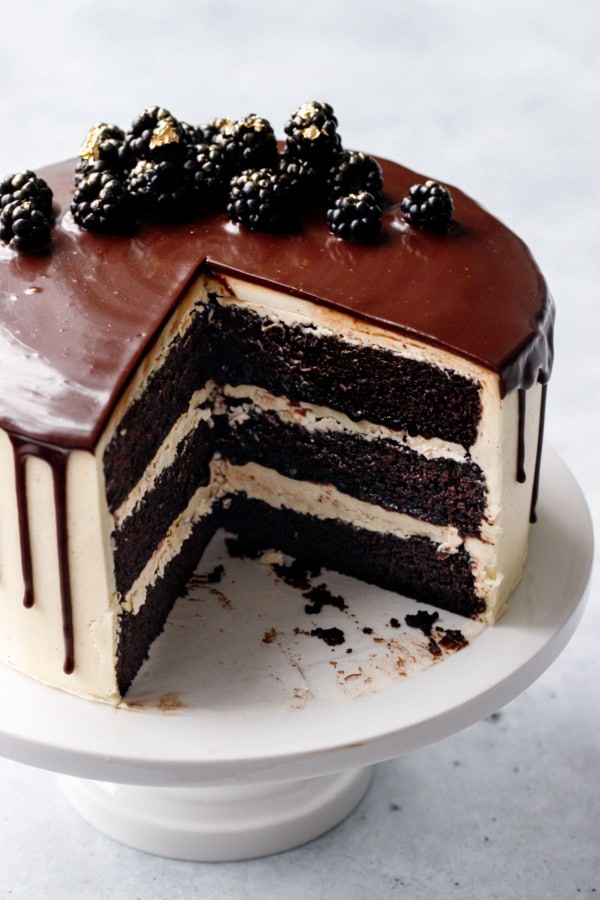
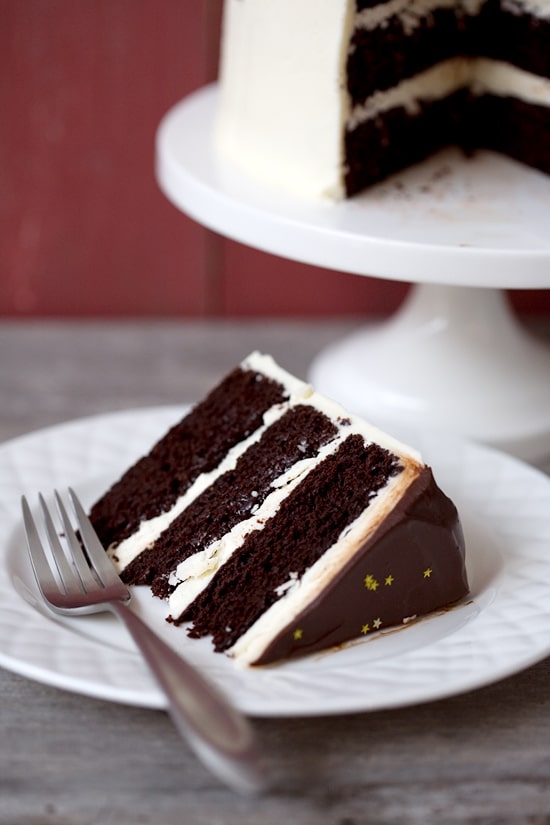
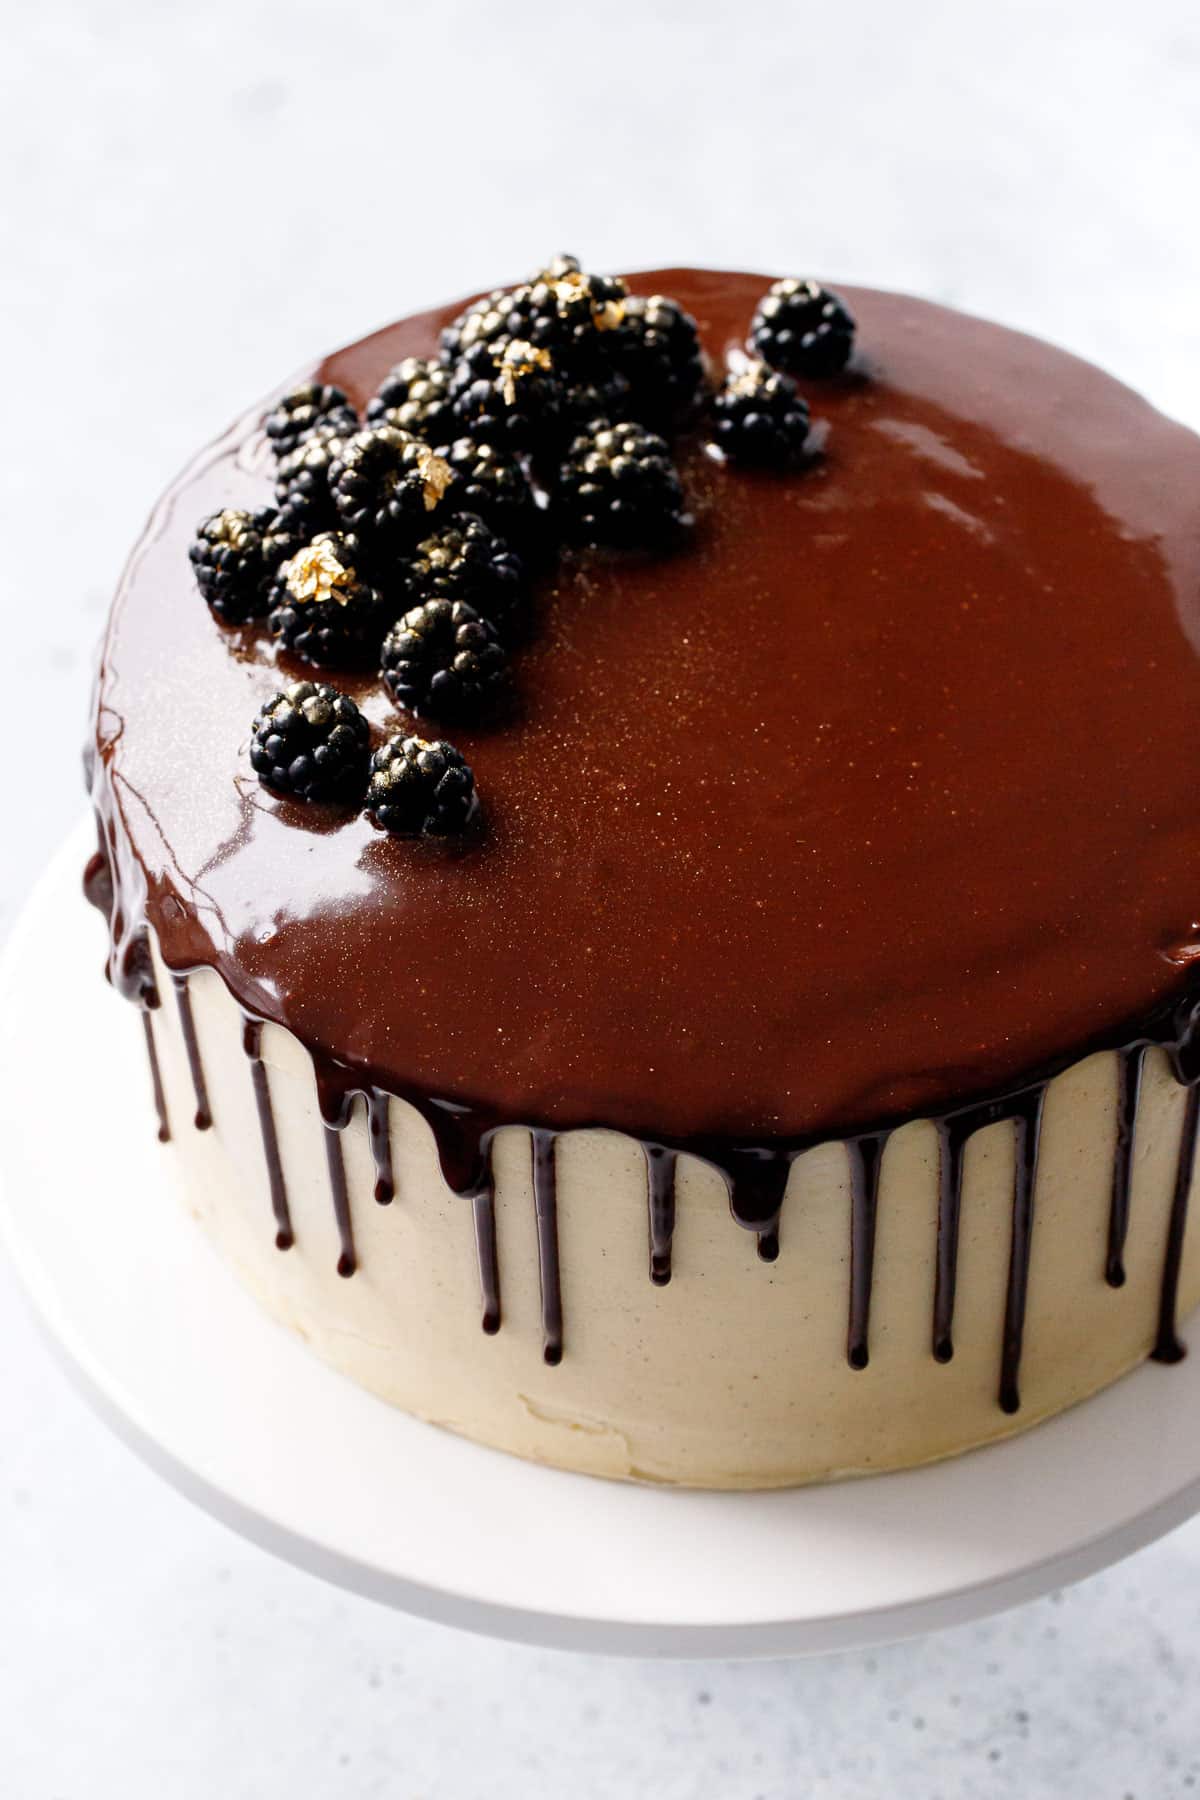
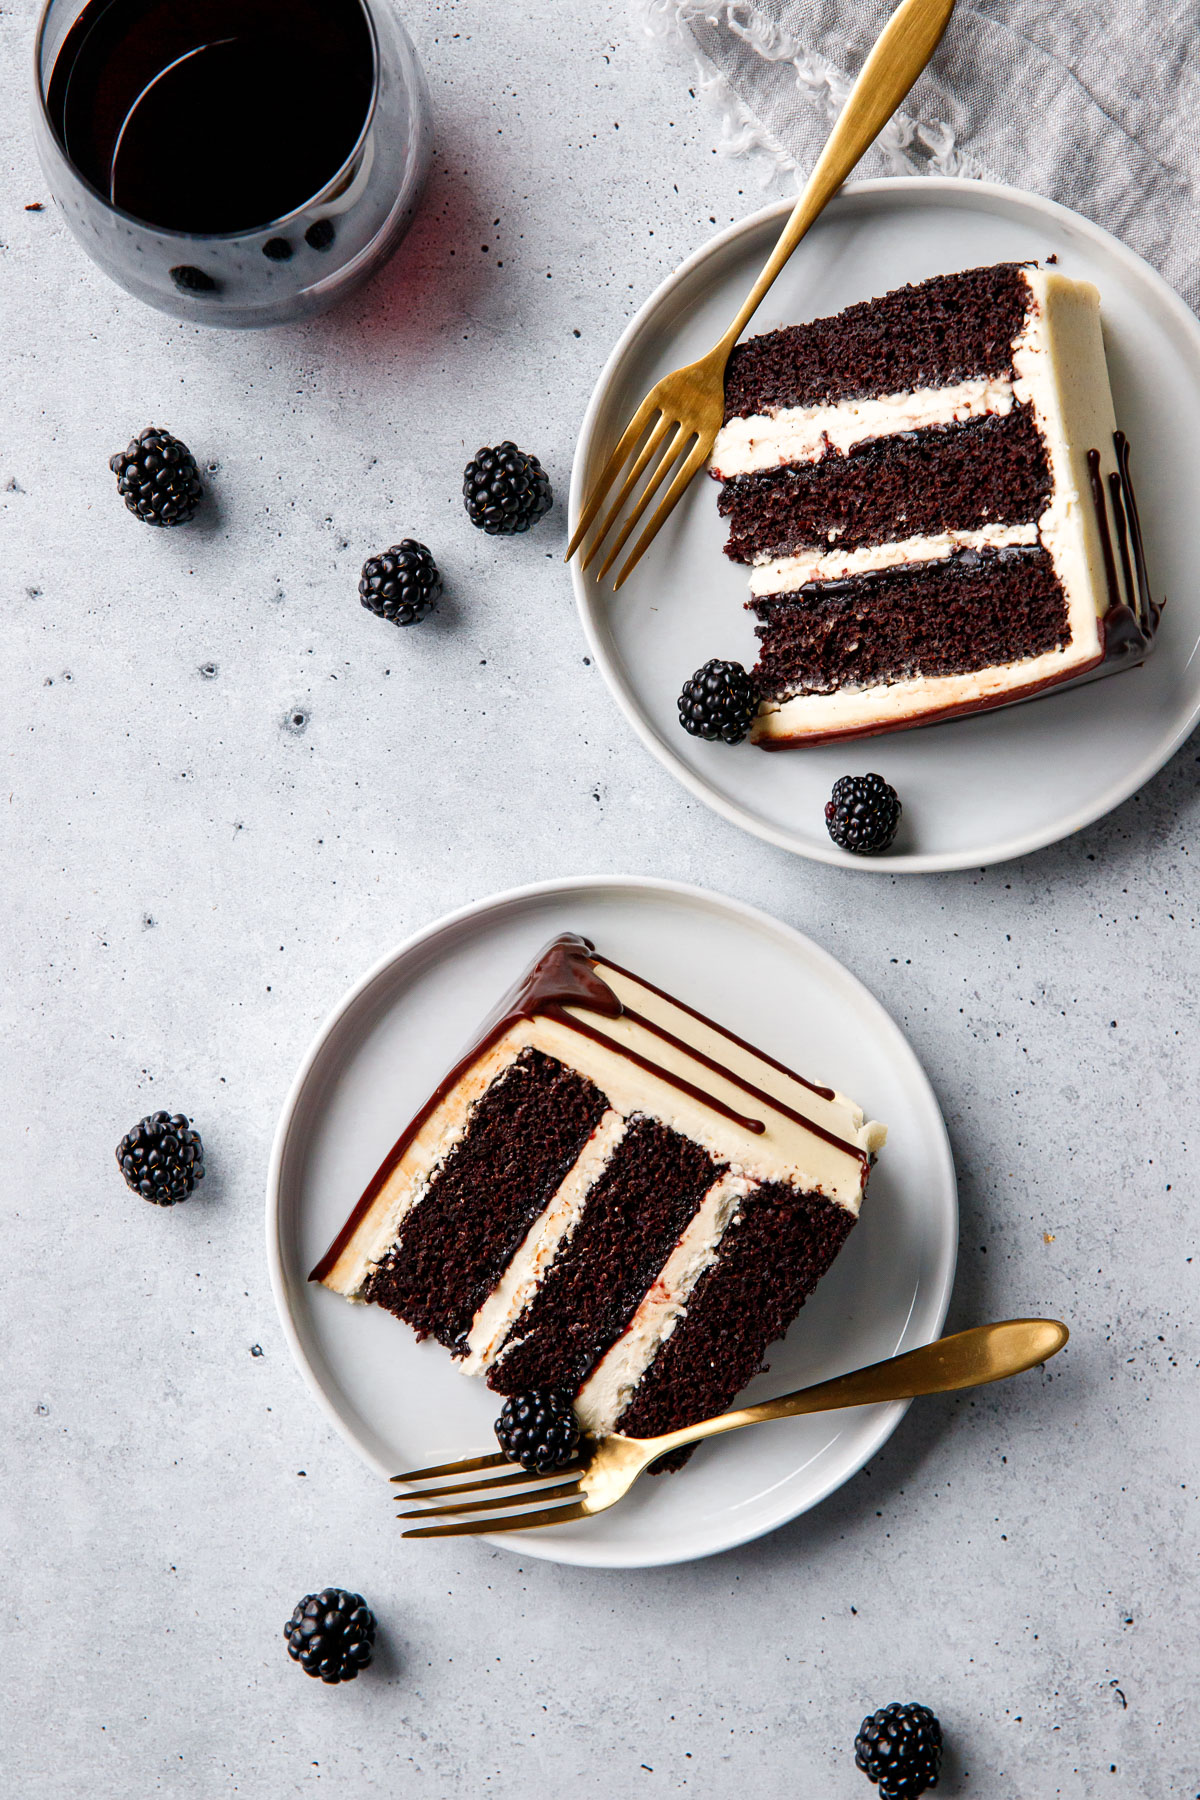
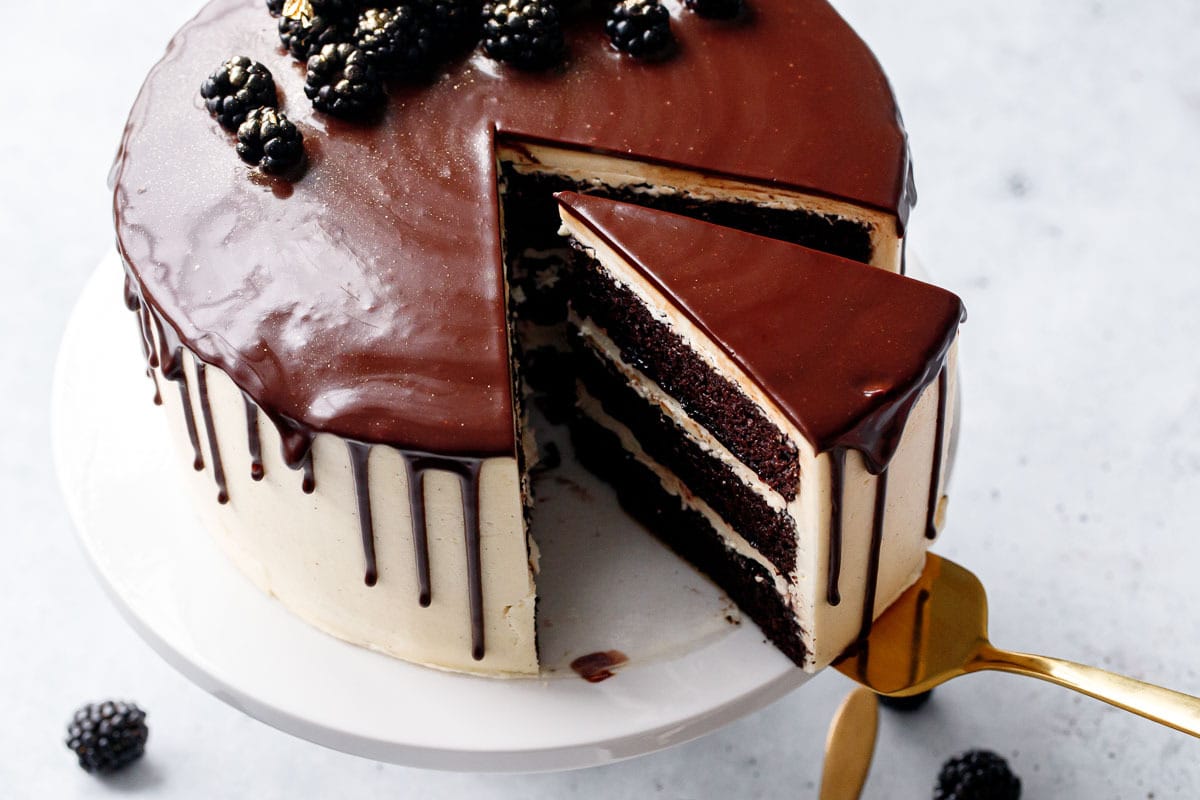
Three layers of moist, deeply chocolate cake, with blackberry preserves and a fluffy vanilla bean buttercream in between, and a drizzle of dark chocolate glaze for a dramatic effect that’s as easy as it is impressive. Top it with some gold-brushed blackberries for some serious flair!
Taylor recently celebrated a milestone birthday, and it felt appropriate to re-make one of our all-time favorite cake recipes (and yours too!) This cake was first made back in 2012, 11 years ago to the day actually (scroll down to the bottom to see the original photos if you’re looking for a laugh). Since then it’s been made and loved by countless readers and fans, for birthdays and celebrations and non-celebrations alike.
Why is it so beloved? Other than being gosh darn delicious, and easy to boot, I suspect the glamor of red wine adds to the mystique of this recipe. It just sounds fancy, doesn’t it? At its most basic it is a classic chocolate layer cake, yes, but the red wine brings out the fruity notes of the chocolate, adding a unique depth of flavor that makes for a truly unforgettable cake. Add to that a layer of blackberry preserves, a fluffy vanilla bean buttercream, and a drizzle of dark chocolate glaze… what you end up with is simply perfection (frankly there’s no other way to put it).
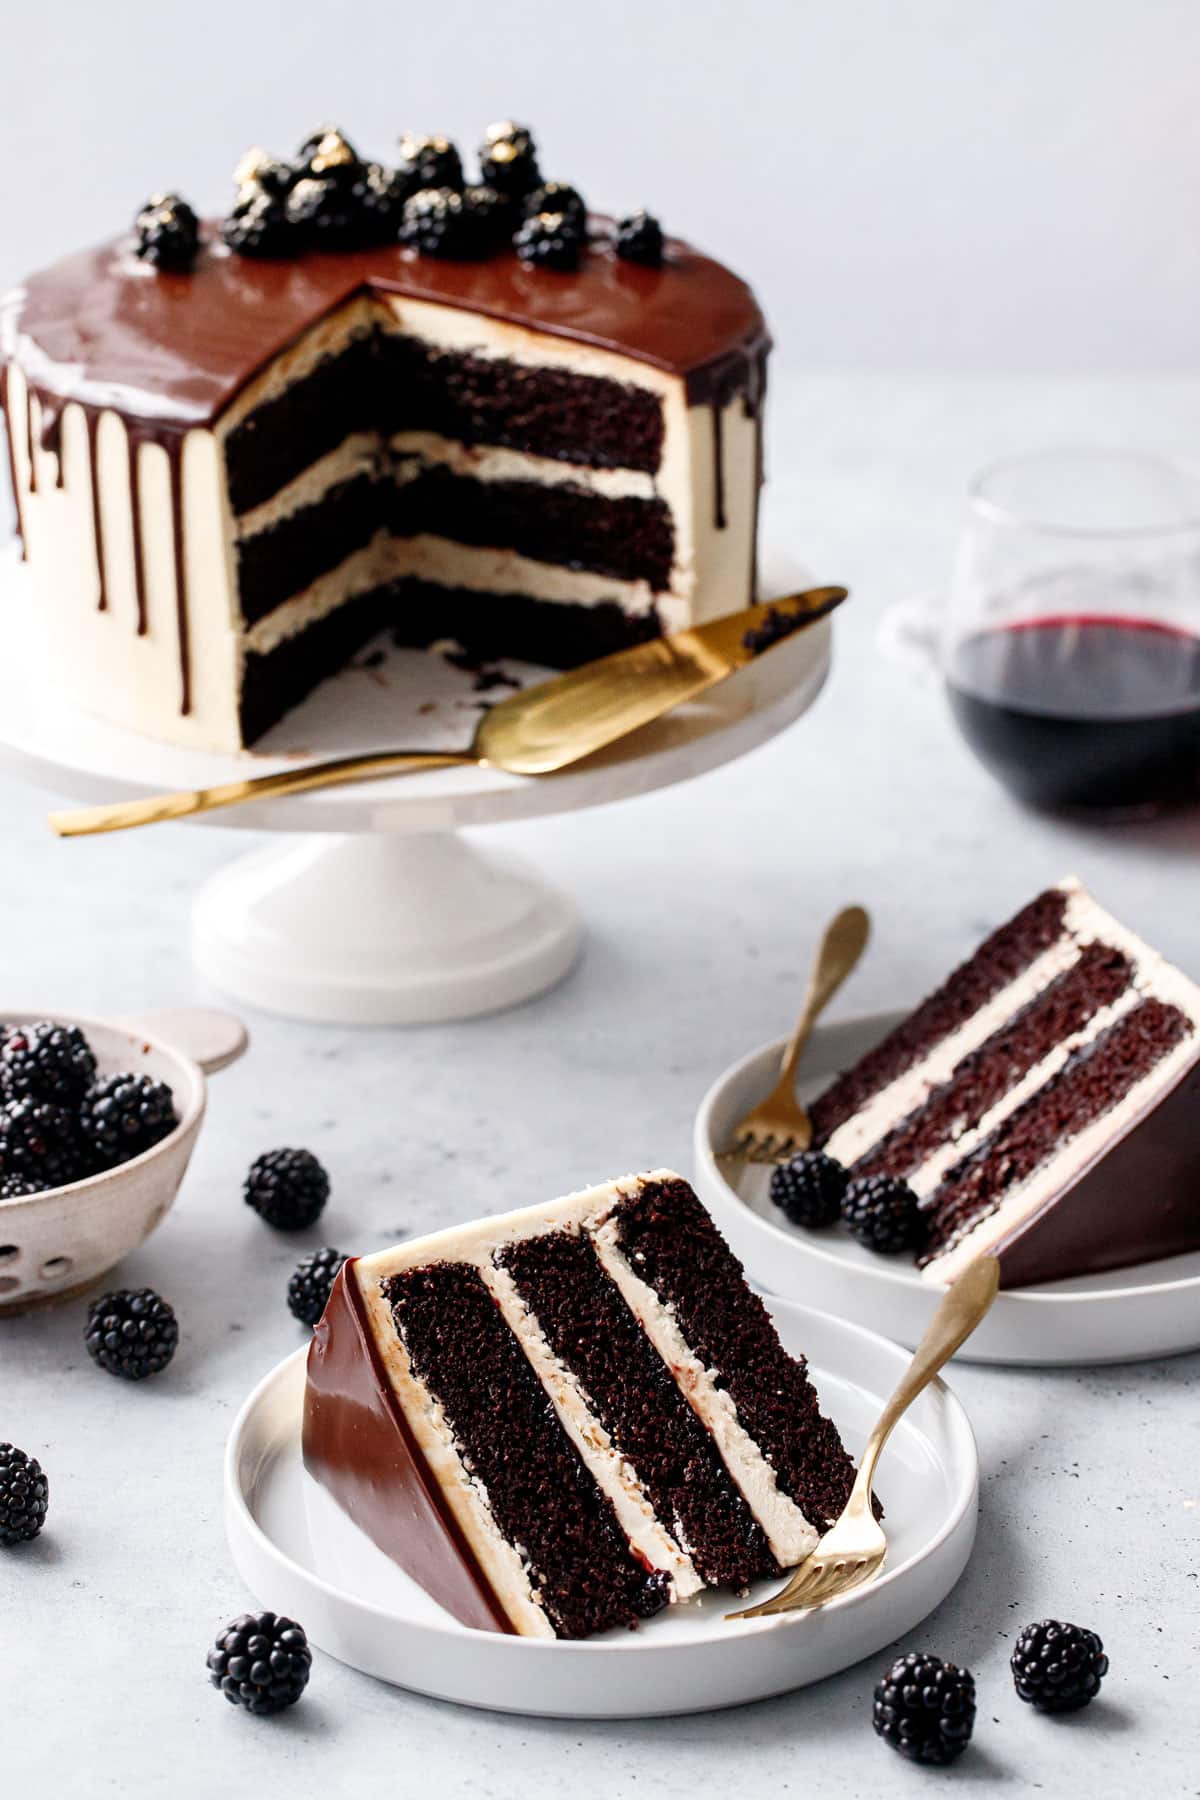
Y’all know I love me some boozy baking, and tipsy cakes are one of my favorite kinds. From Kirsch to beer to bourbon to more bourbon. It was only a matter of time before I started hitting the red wine. I mean, red wine and chocolate go together like Darcy and Elizabeth, so it seemed like an obvious choice.
Simply swapping the liquid (typically hot water or coffee) in a classic chocolate cake recipe with the dark and fruity red wine produced a decadently moist chocolate cake unlike anything I’ve ever had before. Subtle notes of fruit came through the rich dark chocolate, tantalizing the palette without screaming “Hey! Look at me, I taste like wine!” Layered with blackberry preserves and whipped vanilla buttercream, and topped with a dramatic chocolate ganache drizzle, this definitely isn’t your typical chocolate cake.
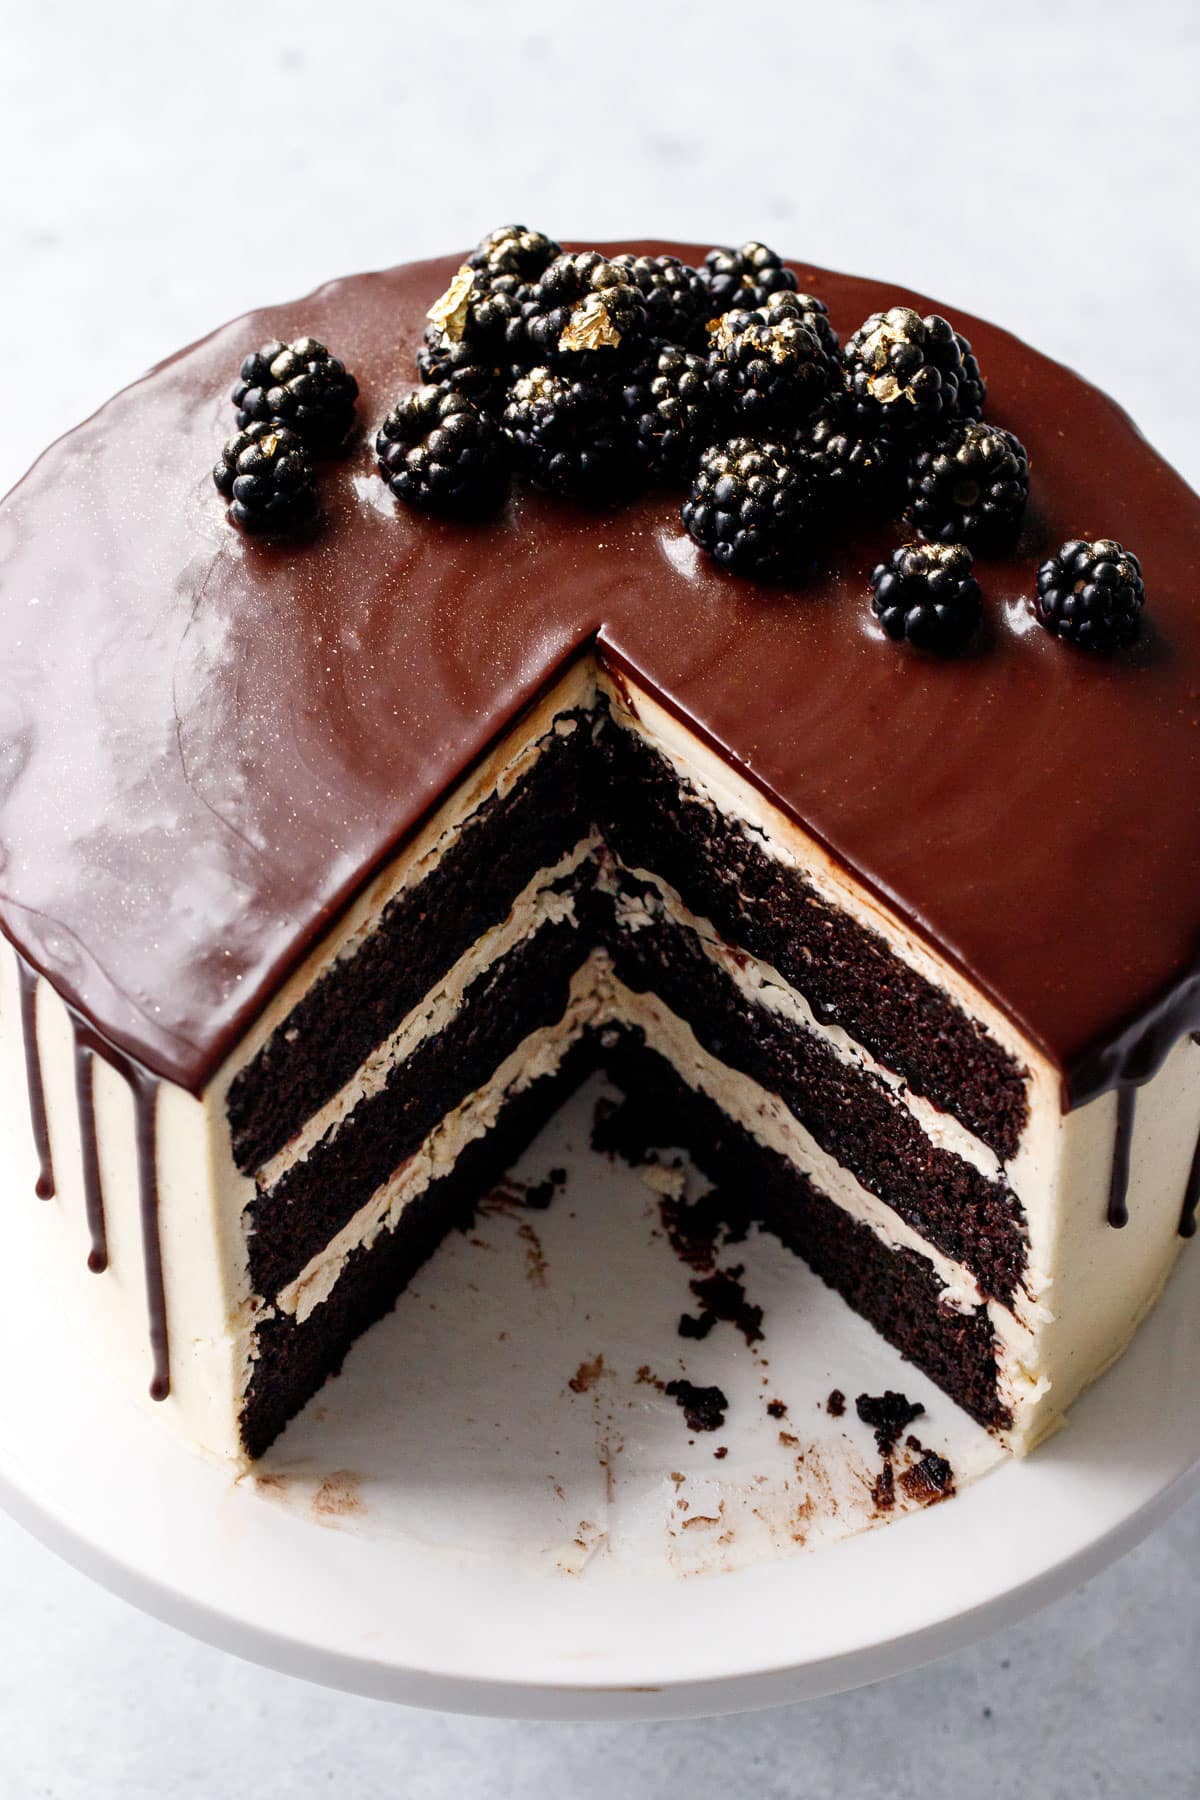
Since it’s made with oil, the cake itself is ridiculously moist (and will stay that way for days), with a robust chocolate flavor and a perfect balance of sweetness, even when topped with an American-style buttercream (which can often be far too sweet, here it’s just right!)
Cake storage tip: After slicing, press a piece of parchment or plastic wrap over the cut sides. Since it’s awfully hard to find a container that fits an entire cake, this tip will let you store the cake on a plate uncovered in the fridge without drying out too much.
50 Shades of Buttercream
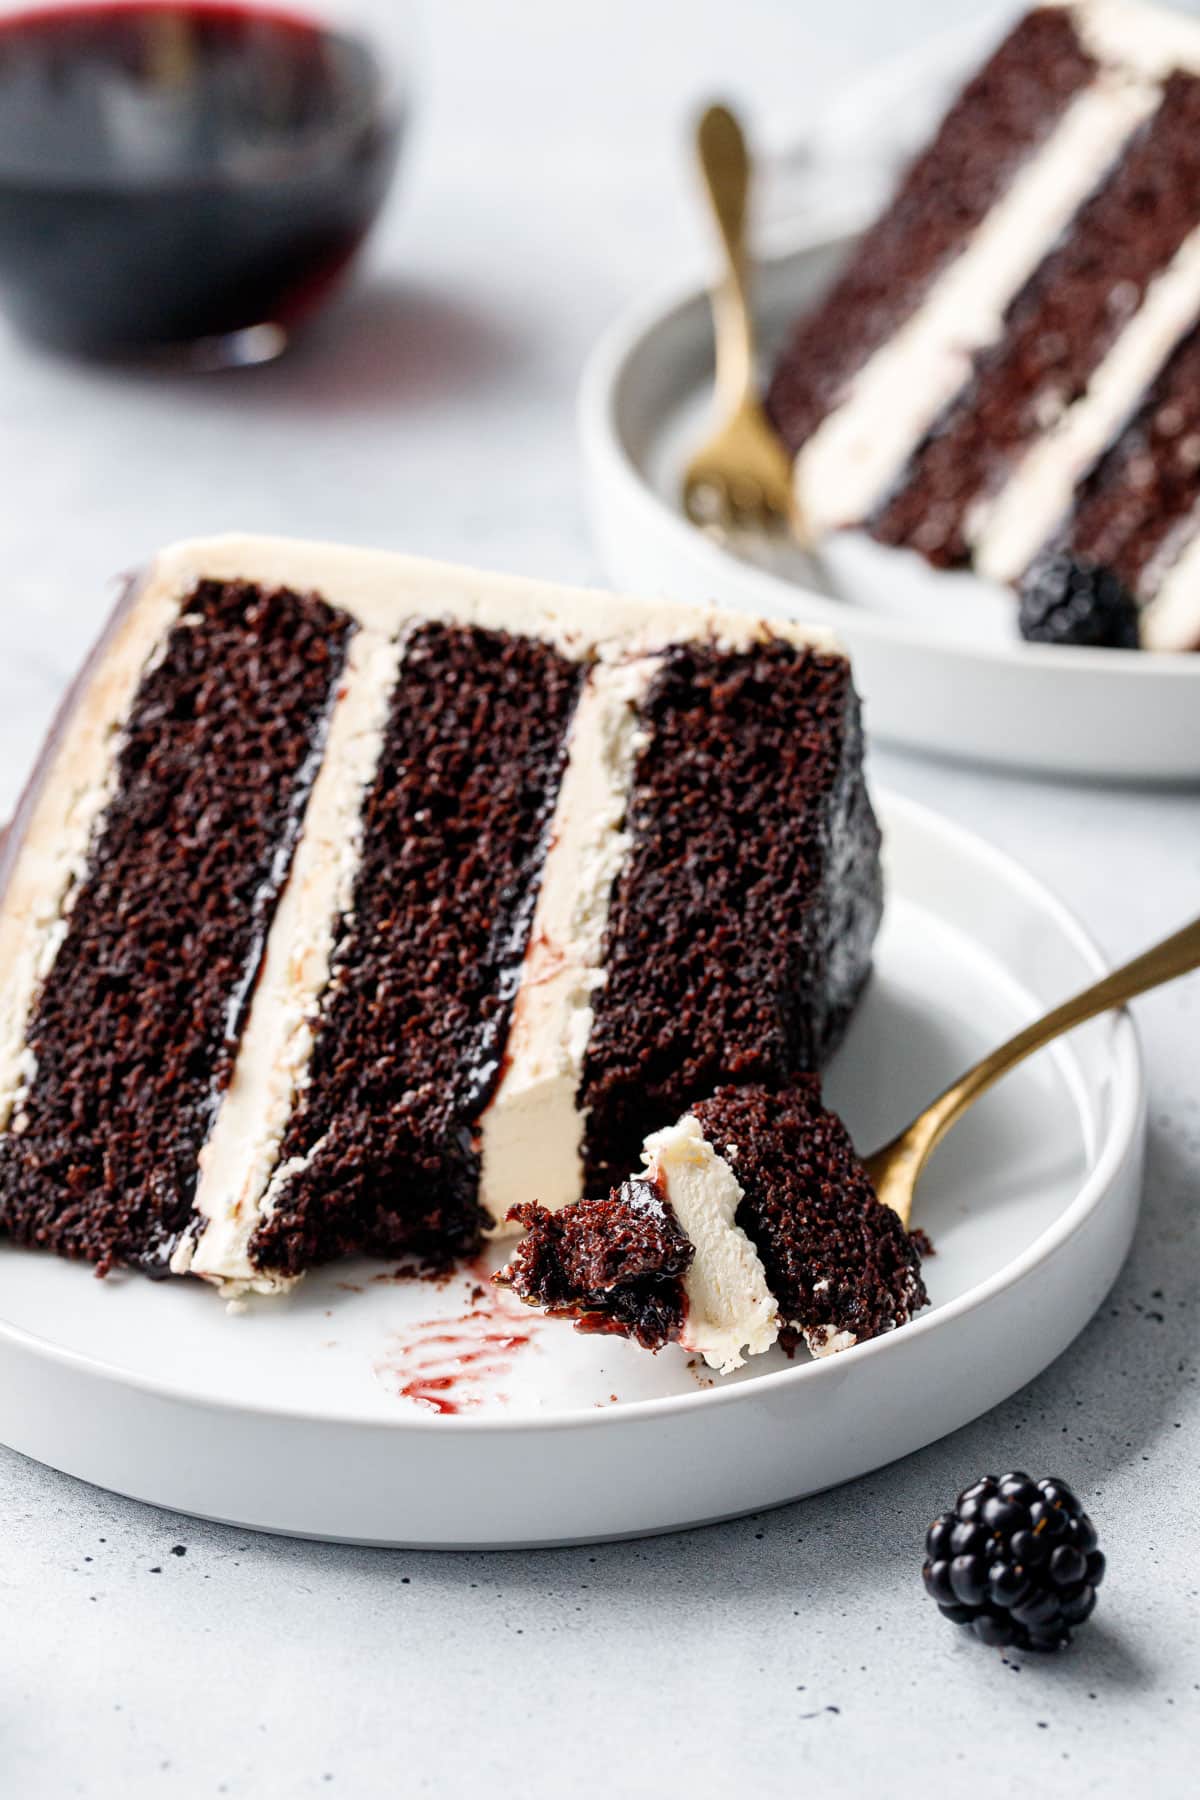
Much like the myriad shades of white in a paint store, plain vanilla buttercream can range from snow white to creamy ivory to pale butter yellow, depending on a number of factors.
You’ll notice my buttercream is very off-white, a result of my using organic butter (which is yellower), and organic powdered sugar (which isn’t as white). Compared to the much whiter buttercream of the original cake photos, which you can still see down below the recipe card (although that’s somewhat of an illusion since I shot it on a red background which makes the off-white seem brighter).
To make pure white buttercream, use unflavored vegetable shortening in place of butter, conventional powdered sugar and clear vanilla extract (or the seeds from a vanilla bean). When you see pure white wedding cakes, they are most definitely made with shortening. If you want the flavor of butter, you’ll have to accept the color won’t be quite as bright.
You can also buy white food coloring, which contains titanium dioxide (the same stuff from the thick white sunscreen from yesteryear). You need quite a bit of it (more than a few drops most definitely), but it will help whiten off-white buttercreams a little bit. I wish I had used some here, but that’s was not a good enough reason to make a whole new cake.
If you’re coloring your buttercream anything other than white, keep in mind that colors will darken slightly when refrigerated. That’s actually true for white buttercream as well, actually!
Drizzle It, Just a Little Bit
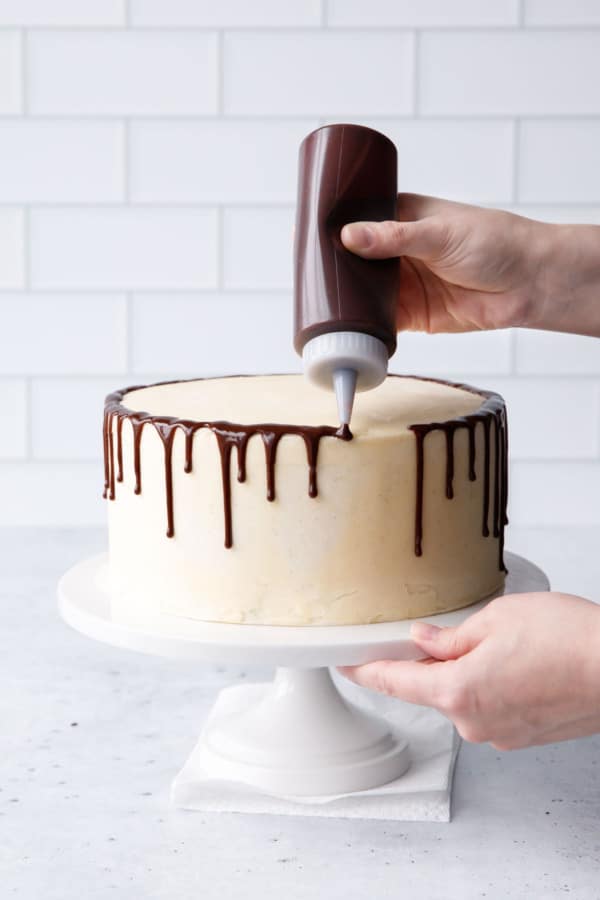
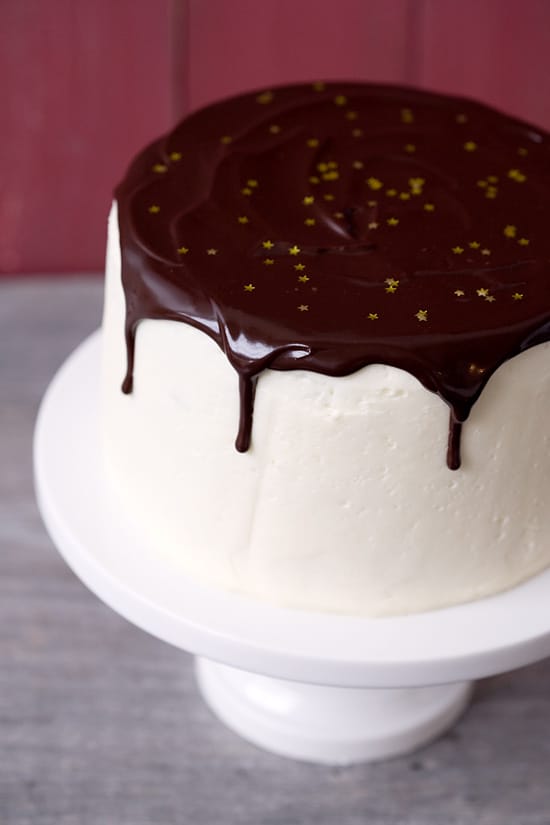
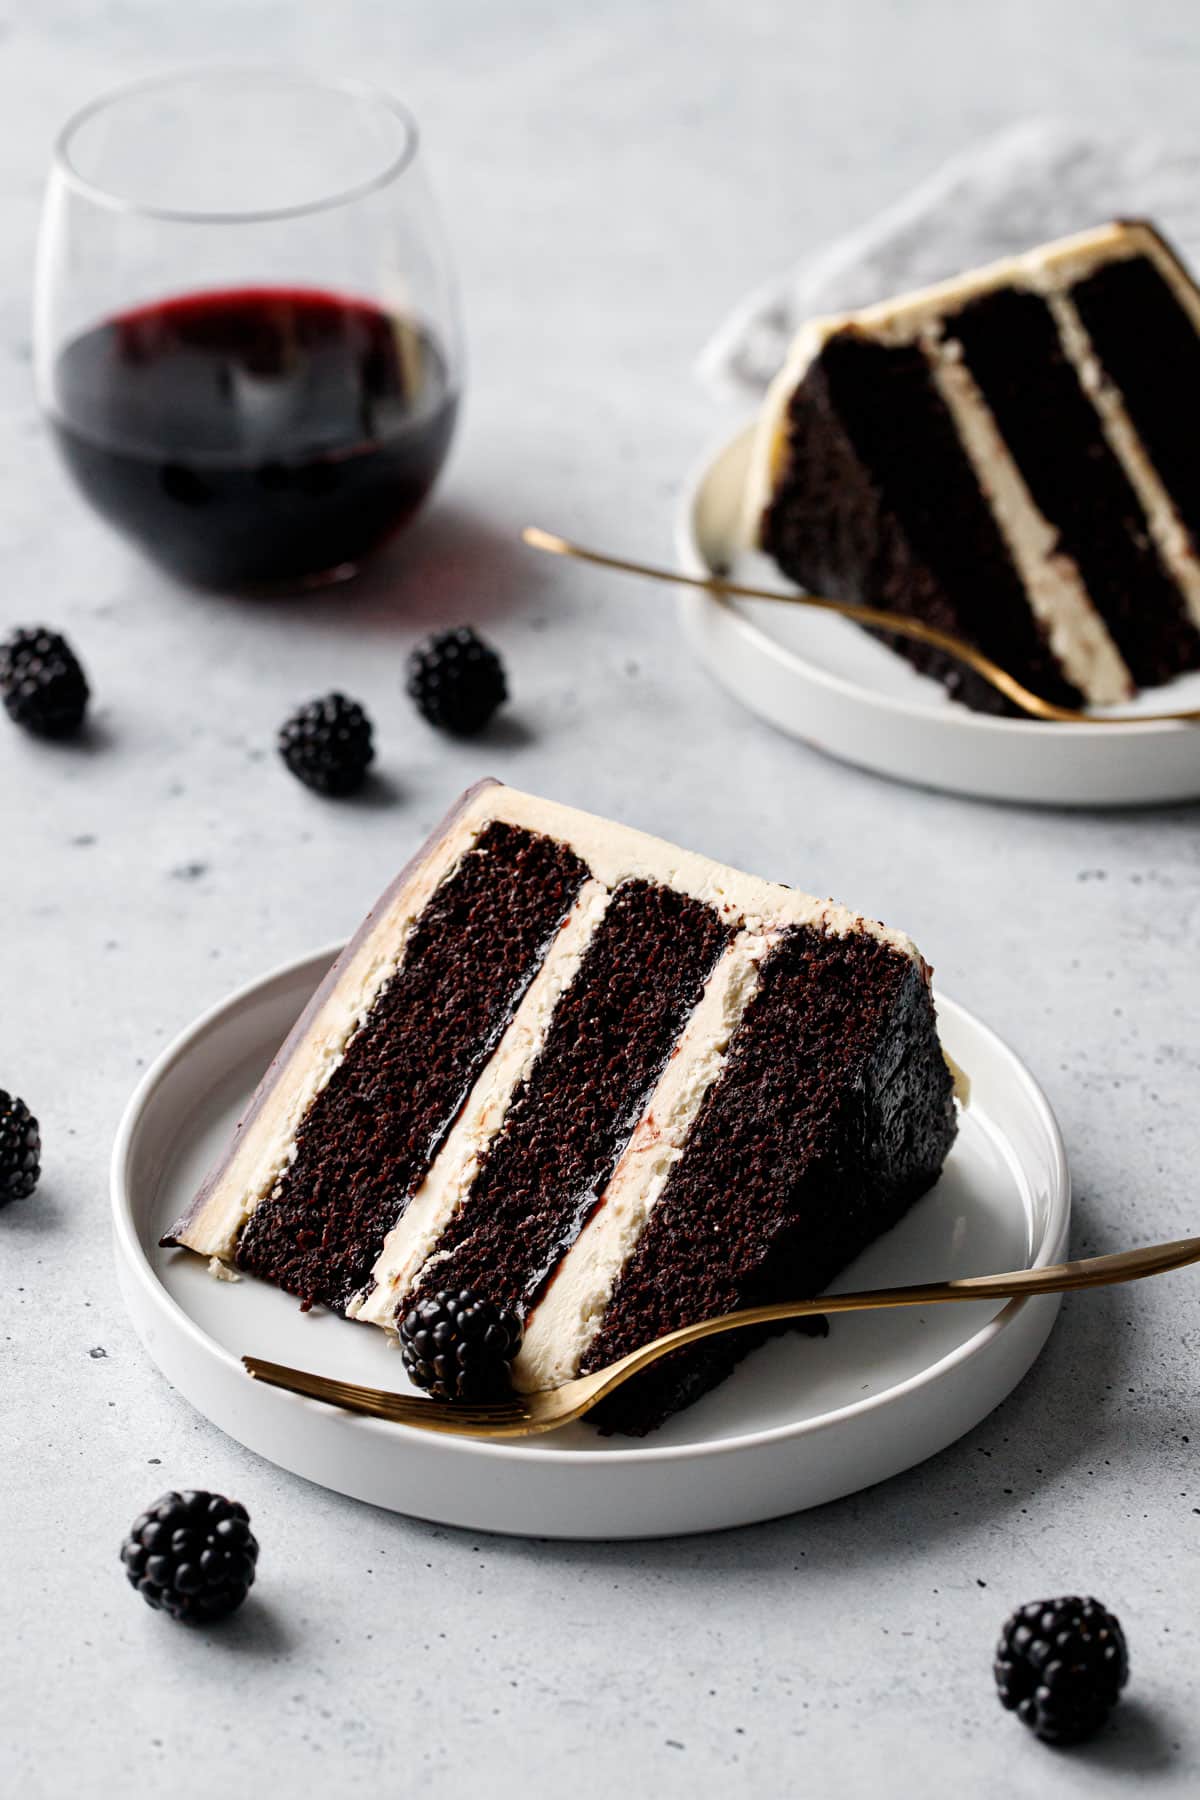
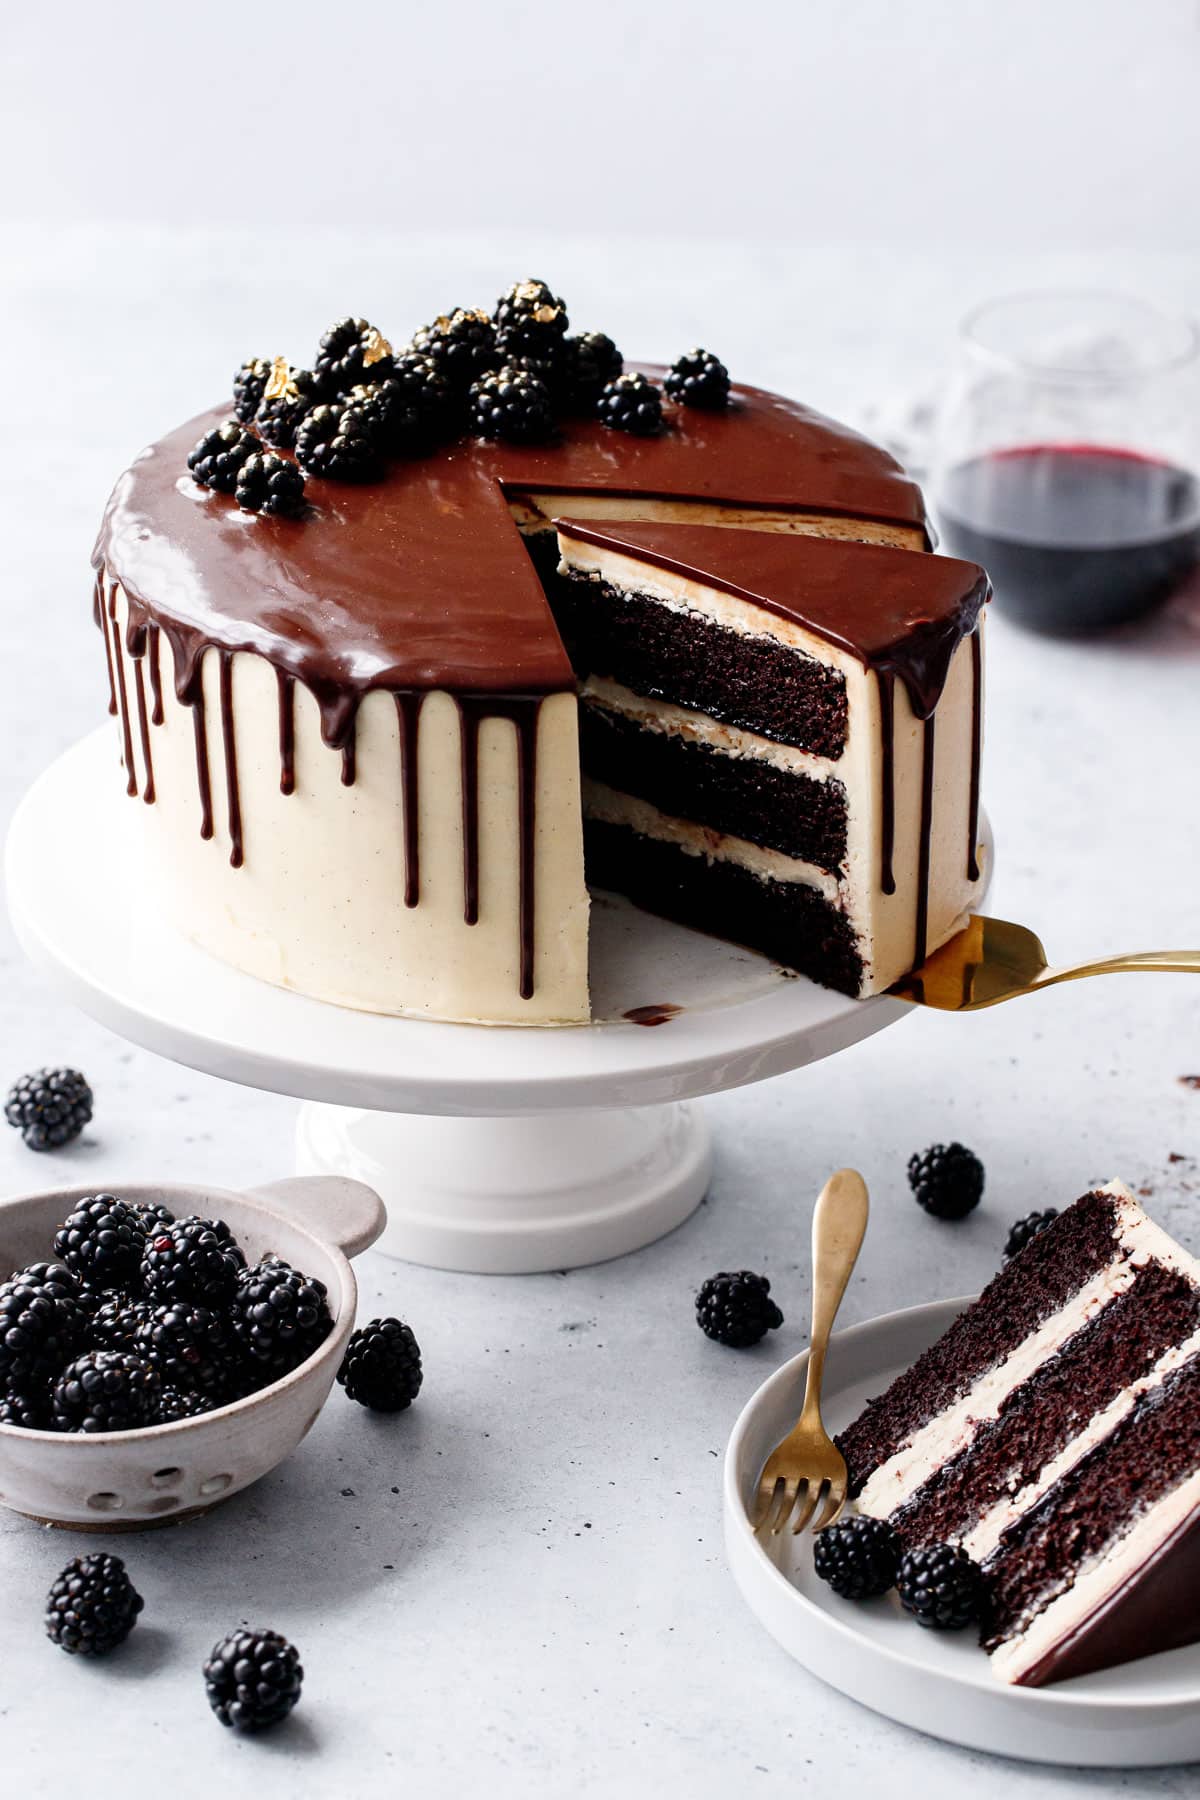
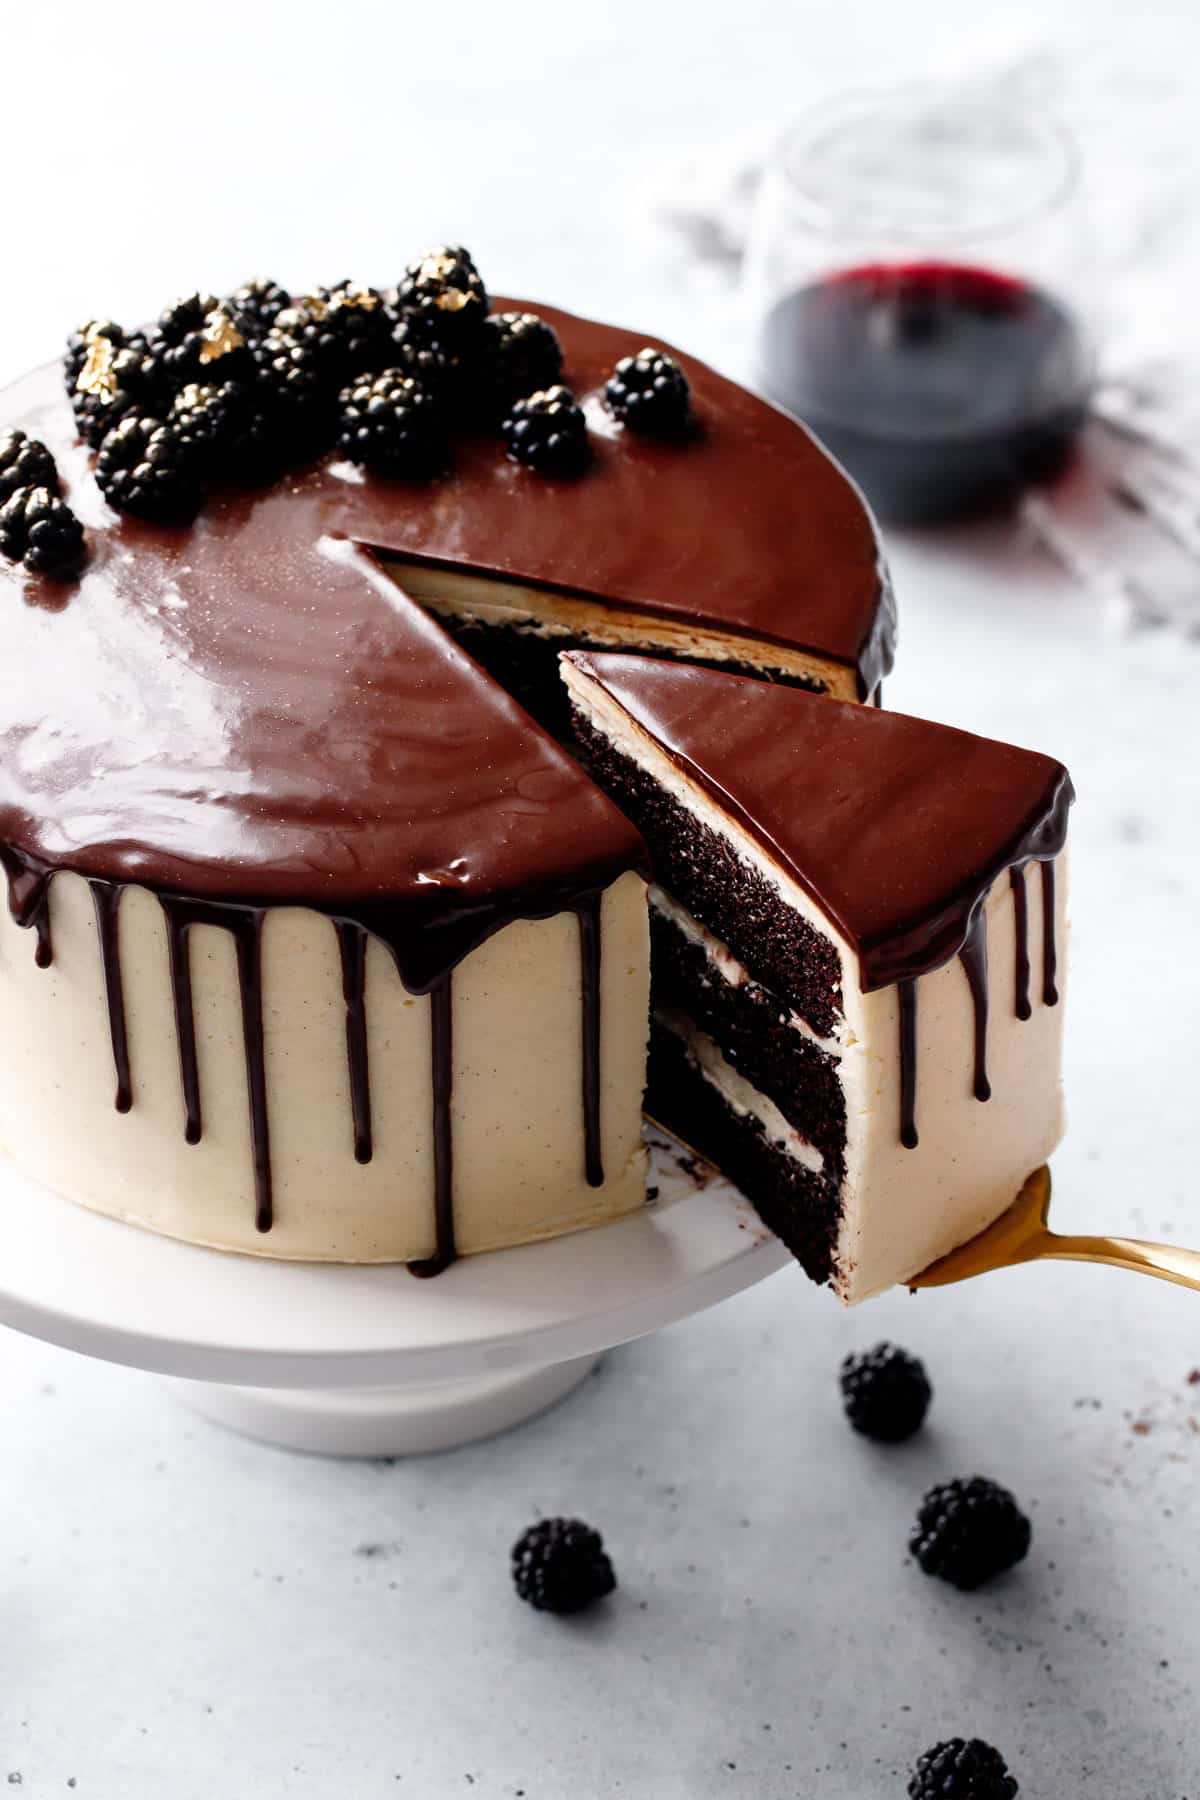
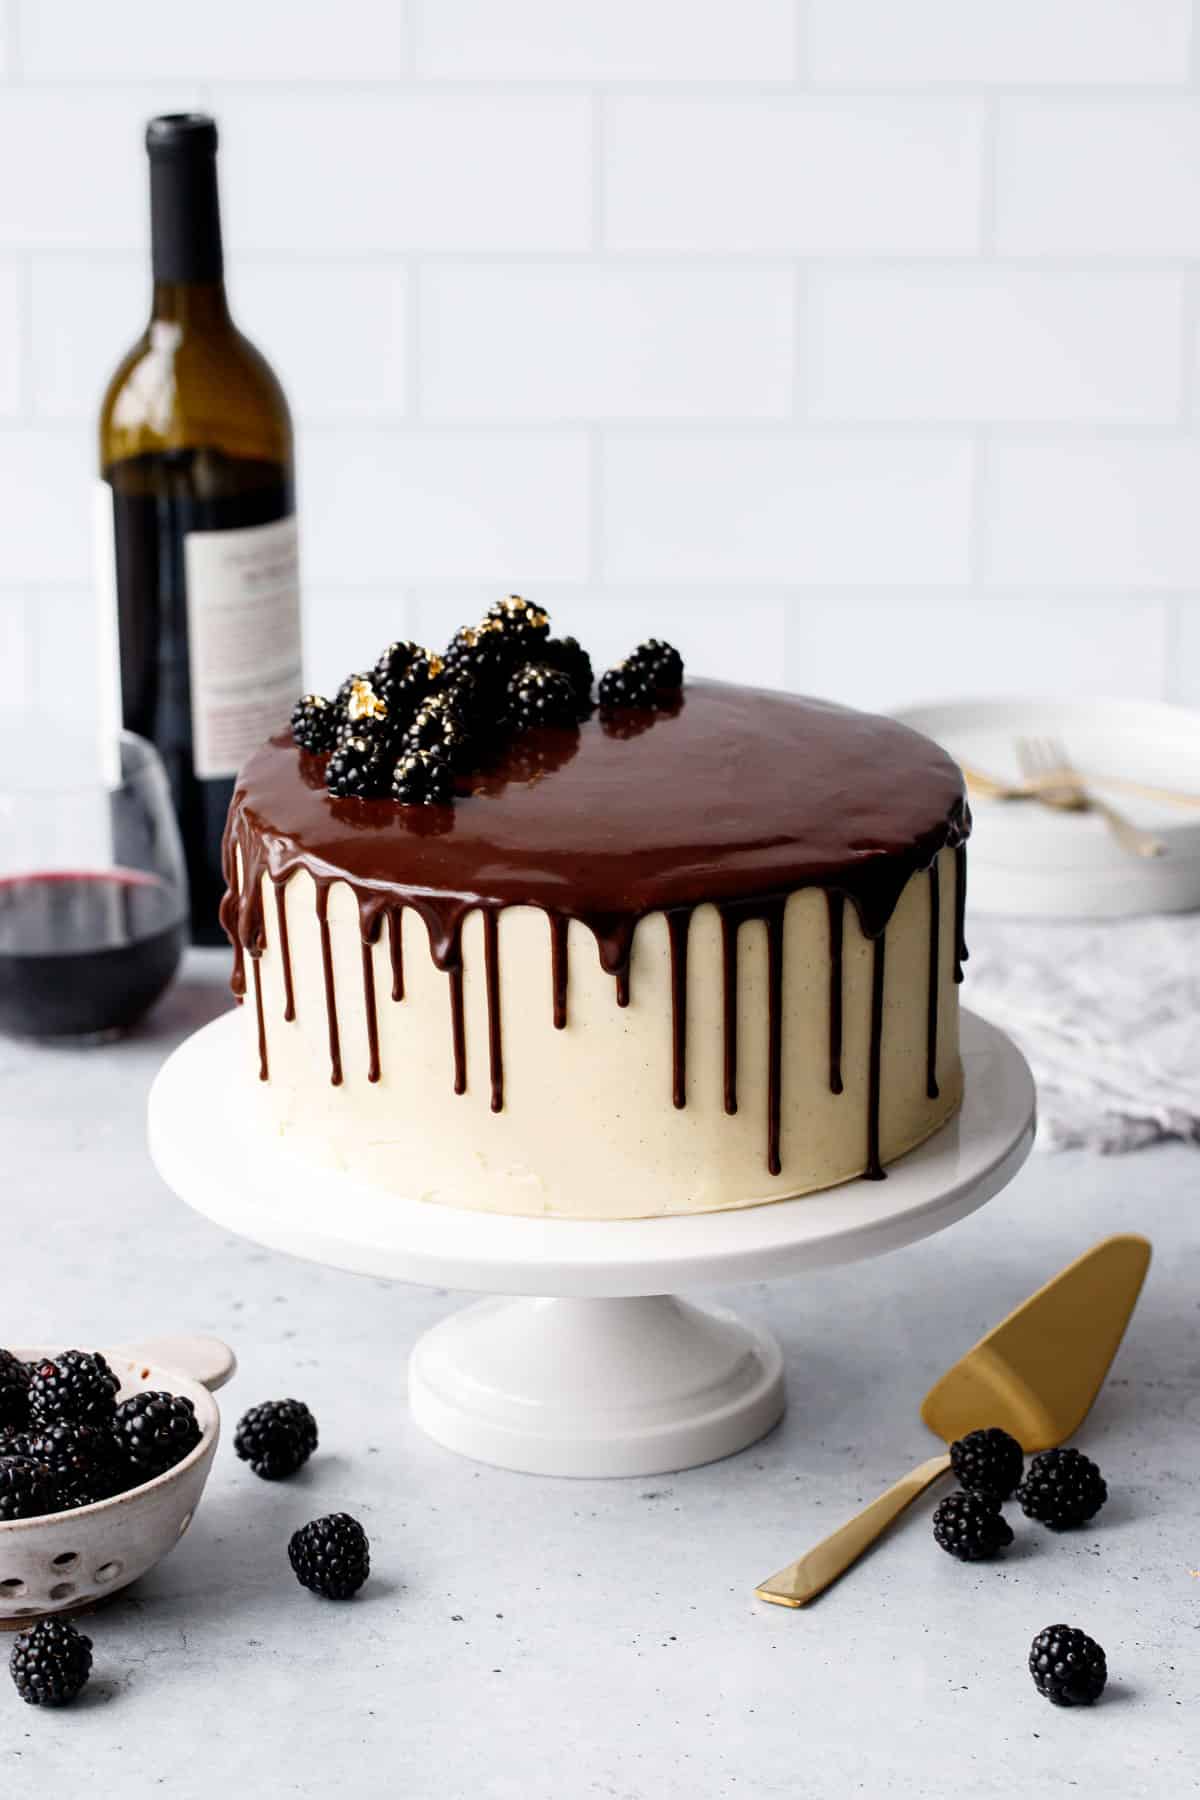
The chocolate glaze makes for a dramatic appearance, with striking drips highlighting the black and white color contrast. The glaze also serves as an easy way cover up any of the flaws from a less-than-perfect buttercream job (especially the top). Do your best to create a smooth layer of butter cream on the sides so the drips flow naturally, but it certainly does not need to be perfect.
Use a plastic squeeze bottle to control the direction and size of the drips. Once you’ve made it all the way around the cake, then dump the rest of the glaze on top and spread it out to the edges. Tap the cake plate on the counter once or twice to even out the liquid glaze.
Optionally, top it with an artful pile of fresh blackberries, dusted with gold luster and flakes of gold leaf for an elegant and dramatic finish.
Make Ahead Schedule
When making multi-component layer cakes like this, I like to spread the work out over multiple days to make it more manageable.
The cake layers can be baked and then frozen for up to 1 month. I actually freeze my cake layers even if I’ll be assembling the next day, as I find frozen cakes much easier to work with. To freeze, simply wrap your cooled cake layers in plastic wrap, place them in a zip-top bag (I put a cardboard cake round under each layer to keep them perfectly flat), and then freeze. You can assemble the cake layers straight from the freezer, though I recommend waiting at least 30 minutes or so before serving.
The buttercream can be made and the cake assembled and crumb coated the day before. Then day of add the final layer of frosting and the chocolate glaze. The glaze really only needs 15 minutes or so to set before you can serve it (though it’s fine if chilled for longer too).
If you make buttercream ahead of time, it’s tends to be very stiff and no longer fluffy after refrigerating. To restore the fluff to chilled buttercream, place 3/4 into the bowl of a stand mixer. Microwave the remaining 1/4 for 15 to 20 seconds on 50% power, until softened but not completely liquid. With the mixer running on low, slowly pour in the softened buttercream, then increase the mixer to high and beat until light and fluffy.
Swaps & Substitutions
Red Wine: I recommend a fruity red wine (look for one with notes of blackberry) or an actual blackberry wine. All the alcohol bakes off in the oven so the cake itself is certainly family friendly. That said, you can replace the wine with hot water or coffee or more buttermilk instead.
Buttermilk: Buttermilk is more acidic than regular milk, giving this cake a richer and more balanced flavor. Powdered buttermilk is the best substitute (mix 1/4 cup powder with 1 cup water or milk). The next best substitute is milk mixed with sour cream. I do not recommend adding vinegar/lemon juice to milk, it’s really not a great substitute, despite what the internet says.
Cocoa Powder: This recipe calls for Dutch processed cocoa powder, which is alkalized to have a darker color and richer flavor, as well as lower acidity. Cacao Barry extra brute is my brand of choice, a great value for the price. Hershey’s Special Dark is the usually best grocery store option available (it’s technically a blend of natural and black cocoas). Ghirardelli has a Dutch process cocoa you can sometimes find in the store too. Using natural cocoa powder in this recipe will result in a much lighter colored cake and a tangier, more bitter flavor.
Blackberry Jam: You really need that punch of bright, acidic fruit to contrast the sweet frosting. That said, you can use any fruit preserve you’d like in place of the blackberry, as long as it’s not too runny. Raspberry would be particularly good here, I think.
 Yield: one 8-inch layer cake (halve for a 6-inch cake)
Blackberry Red Wine Chocolate Cake
Cook Time: 35 minutes Total Time: 3 hours A decadently moist chocolate cake recipe made with dark and fruity red wine and layered with blackberry preserves and chocolate ganache. 4.50 stars ( 2 reviews) Print Recipe Pin Recipe Leave a Review
Ingredients
For cake:
- 2 cups / 400 g sugar
- 1 ¾ cups / 218 g all-purpose flour
- ¾ cup / 70 g dark or dutch-processed cocoa powder
- 2 teaspoons baking soda
- 1 teaspoon baking powder
- 1 teaspoon fine sea salt
- 2 large eggs, at room temperature
- 1 cup / 240 g buttermilk
- 1 cup / 240 g blackberry wine or red wine
- ½ cup / 112 g light olive or vegetable oil
- 2 teaspoons vanilla extract
For frosting:
- 2 cups / 452 g (4 sticks) unsalted butter, at room temperature
- 3 ¾ cups / 452 g (1 pound) powdered sugar, sifted
- ¼ cup heavy cream, at room temperature (plus more as needed)
- 2 teaspoons vanilla bean paste or vanilla extract, or the scraped seeds from 1 vanilla pod
- Pinch fine sea salt
- ⅓ cup blackberry preserves
For chocolate glaze:
- 3.5 ounces / 100 g dark chocolate, finely chopped
- ¼ cup heavy cream
- ¼ cup powdered sugar, sifted
- 2-3 tablespoons warm water
Instructions
- Preheat oven to 350ºF. Butter and line three 8-inch round baking pans with parchment paper; lightly butter parchment.
- In a large mixing bowl, combine the sugar, flour, cocoa, baking soda, baking powder, whisking until thoroughly combined. Add eggs, buttermilk, wine, oil, and vanilla and beat with an electric mixer on medium speed until all dry ingredients are incorporated. Divide evenly among prepared pans.
- Bake for 28 to 32 minutes or until a toothpick inserted in the center comes out clean. Remove from oven and place on a wire rack until cool enough to handle. Run a small knife around the edges of each pan, then gently invert onto wire racks. Cakes should come out cleanly. Allow to cool completely. At this point, the cakes can be frozen until ready to use, up to 1 month. Simply wrap each layer individually in a double layer of plastic wrap and then store inside a large zip top bag (I find frozen cakes to be much easier to work with later, and always freeze mine even if I’m finishing the cake the next day).
- To prepare frosting, in the bowl of a stand mixer fitted with the paddle attachment, beat butter on medium speed until very pale and creamy, about 8 minutes. Add powdered sugar, a little at a time, mixing well after each addition. Add cream and vanilla extract and beat until light and fluffy, about 6 minutes more. Add more cream or powdered sugar as needed to acheive desired consistency.
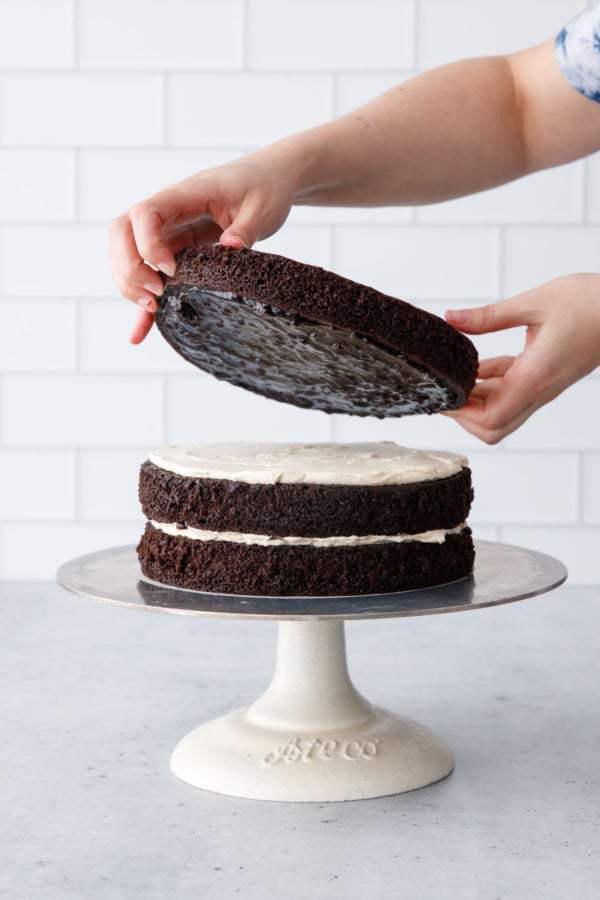
- To assemble, if necessary, level each cake layer by cutting of the domed top with a long serrated knife. Place one layer, flat side down, on a cake stand or serving platter. Spread approximately 1/2 cup of buttercream evenly on top. Rather than trying to spread jam on top of the frosting, I found it was easiest to spread the jam on the underside of the next layer, then carefully flip and gently lay it on top of the first layer. Repeat with the second layer and more buttercream and preserves, and top with final cake layer, flat side up.
- Cover the entire cake with a thin layer of buttercream. This “crumb coat” will make frosting the cake easier. Refrigerate for about 15 minutes to allow this crumb coat to set. At this point if you will be coloring the remaining buttercream, add your food coloring to the mixing bowl and beat until color is uniform.
- Remove cake from refrigerator and frost with remaining buttercream, reserving some for piping decorative details if desired. You may opt to return cake to the refrigerator for at least 30 minutes, particularly in warm months, as it will make it easier to glaze and slice.
- Meanwhile, to prepare the glaze, place chopped chocolate and heavy cream in a double boiler or a heat-proof bowl set over a pot of simmering water. Stir until melted and smooth. Remove from heat and whisk in powdered sugar, stirring until smooth. Add water 1 tablespoon at a time, whisking well after each addition, until the glaze is nice good pouring consistency. Let cool 10 to 15 minutes or until lukewarm (otherwise it will drip too fast). Transfer to a squeeze bottle if desired to make for more easily controlled drips.
- Pour or pipe glaze slowly on top of chilled cake, spreading to edges with an offset spatula, allowing the chocolate to drip over the edges. Continue pouring until desired drizzle effect is achieved (you may not use the entire amount). Decorate with fresh blackberries, dusted with gold luster powder or flakes of gold leaf if desired.
- Serve right away, or refrigerate until ready to serve (let cake sit at room temperature for 30 minutes before serving). Refrigerate leftovers in an airtight container (or press a piece of parchment/plastic to the cut sides to keep them sealed); it should stay moist for up to 1 week.
 Vegetarian Cake base adapted from My Baking Addiction, chocolate glaze from Bakers Royale. All images and text © Lindsay Landis for Love & Olive Oil.
Did you make this recipe?
Let us know what you think! Leave a Review below or share a photo and tag me on Instagram with the hashtag
#loveandoliveoil.
This recipe was first published on January 30, 2012, and has been updated and rephotographed as of January 30, 2023 (11 years to the day, would you look at that!)
Because I can’t resist a little walk down memory lane… here are the photos from the original recipe published back in 2012. What was this shot in a barn or something?
While the recipe itself is basically unchanged (I’ve clarified a few steps and added metric measurements), the photos are a vast improvement, don’t you think? My glazing technique has also vastly improved, with the help of a squeeze bottle the drips aren’t quite so… sanguine.
We originally used a bottle of blackberry wine made locally here in Tennessee. It’s not exactly the kind of wine you pour and have a glass or two with dinner, so baking it into a cake was our way of not letting it go to waste. You can use blackberry wine if you can find it, otherwise any fruity red wine will work!


