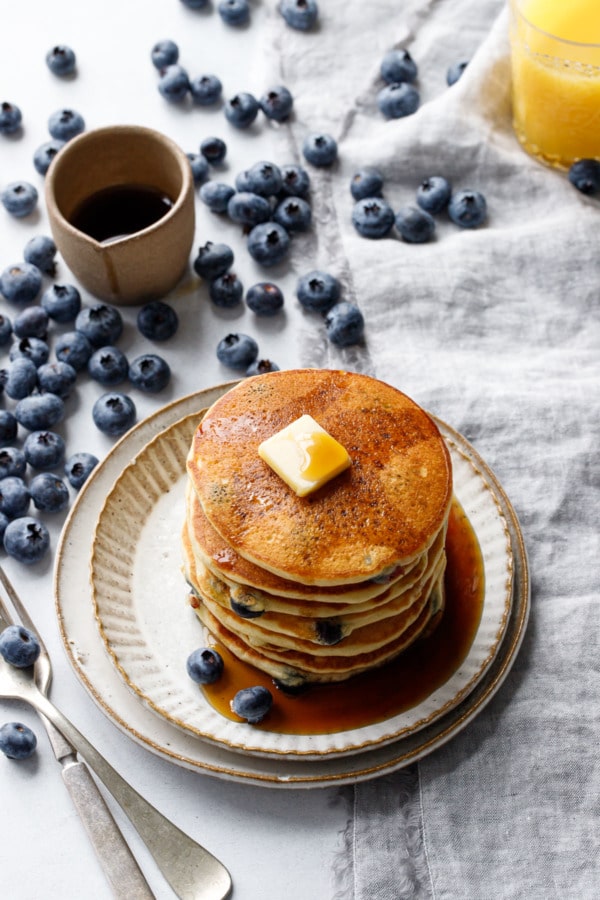
Put that sourdough discard to good use and whip up a batch of these fluffy buttermilk pancakes, studded with fresh blueberries and topped with a drizzle of maple syrup.
With a flavor somewhere between a classic buttermilk pancake and a slice of French toast (you can thank the sourdough starter for that), these sourdough pancakes are light, fluffy, and buttery with just a hint of sweetness.
If you haven’t given up on your sourdough starter yet, here’s another recipe to make use of that discard.
And in fact, these pancakes or so good, you may find yourself feeding the yeasty beast for the discard alone, just to make this recipe.
That’s totally allowed. I’m sure your starter, comfy as it is napping in the fridge, will appreciate the exercise, even if it doesn’t result in a loaf of homemade bread.
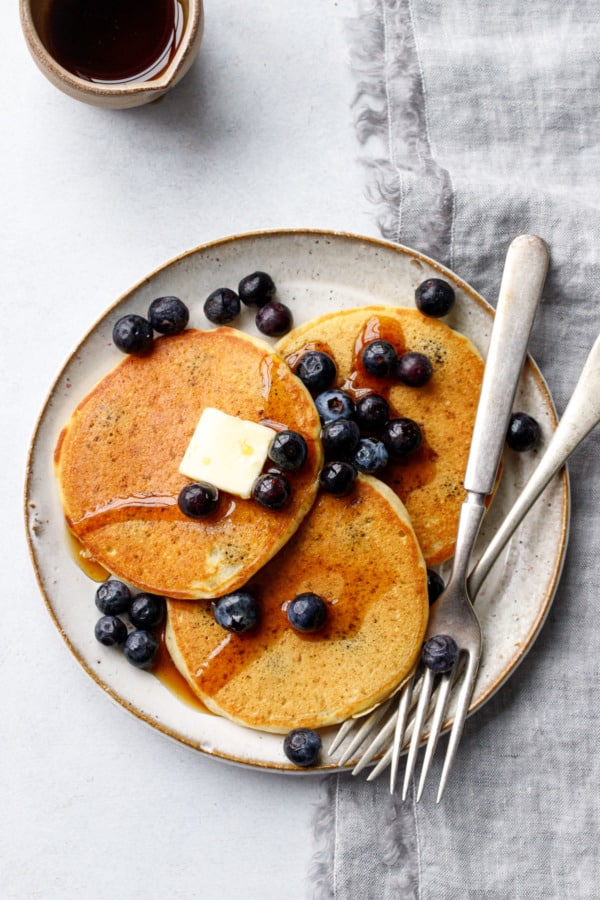
How are these pancakes different from old-fashioned buttermilk pancakes? Upon first taste, you might think they were just regular old blueberry pancakes. They are light and fluffy and buttery and everything that a blueberry pancake should be.
However, as you eat, you might start to notice a hint of… something… a fascinating undertone of flavor that you can’t quite pinpoint. All you know is these are possible the best pancakes you’ve ever tasted.
I like to describe them as a French toast-flavored pancakes. Which, if you think about, makes sense, since ingredient-wise they are almost identical: French toast is made from bread, milk and eggs, and pancakes made from flour, milk and eggs. Yeast, in this case, is the critical difference. So adding some natural yeast in the form of a sourdough starter, it’s no wonder they end up tasting a bit like French toast.
Now, sourdough bread has a distinctive sour flavor (I mean, that’s why it’s called sourdough, right?) but I would in no way describe these pancakes as such. There is a bit of tang, sure, but it’s more from the buttermilk, and the blueberries, than the sourdough. I think the sugar and butter tempers the sour flavor, leaving only the yeasty undertones.
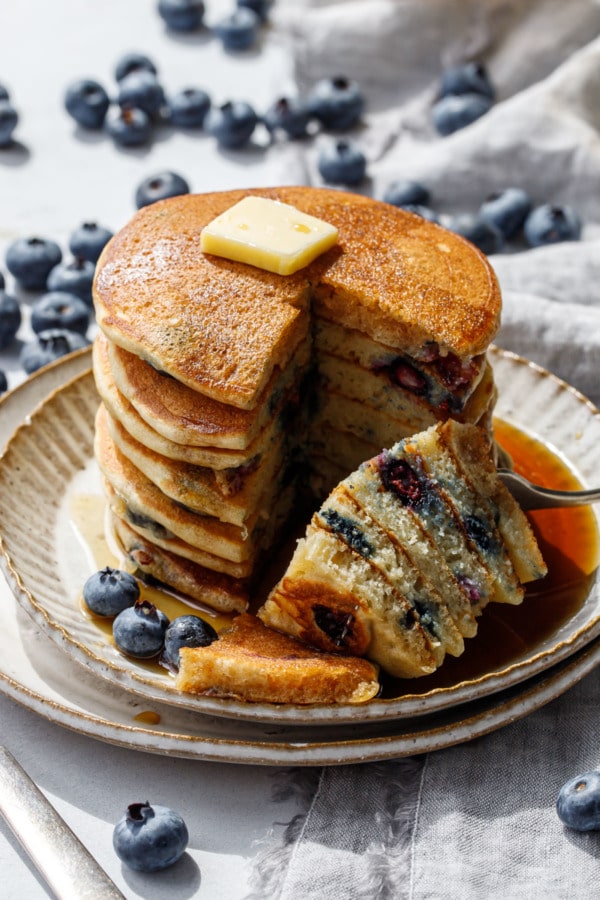
Fresh or frozen blueberries will both work here (I smartly froze a few bags of our local blueberries earlier in the summer, a fact I was thanking my past self for since the berries in the store this time of year aren’t nearly as flavorful).
Rather than mix the berries into the batter, which (especially if using frozen berries) results in blue-green streaks of berry color, I drop a few berries right on top of the pancake batter immediately after ladling it onto the skillet. This way you can control the berry distribution and make sure each pancake is perfectly balanced.
Pancake cooking tip: if you have a good quality non-stick skillet, you really don’t need any (or barely any) butter at all to cook these. In fact, we found that adding butter to the skillet made for uglier pancakes, with uneven rings of brown and pale spots where the pancake didn’t even touch the pan.
After our first few batches came out looking less than drool-worthy, we realized that just wiping a tiny bit of butter onto the skillet with a paper towel was all we needed, if that. You shouldn’t see any bubbles or drops of butter on the skillet at all.
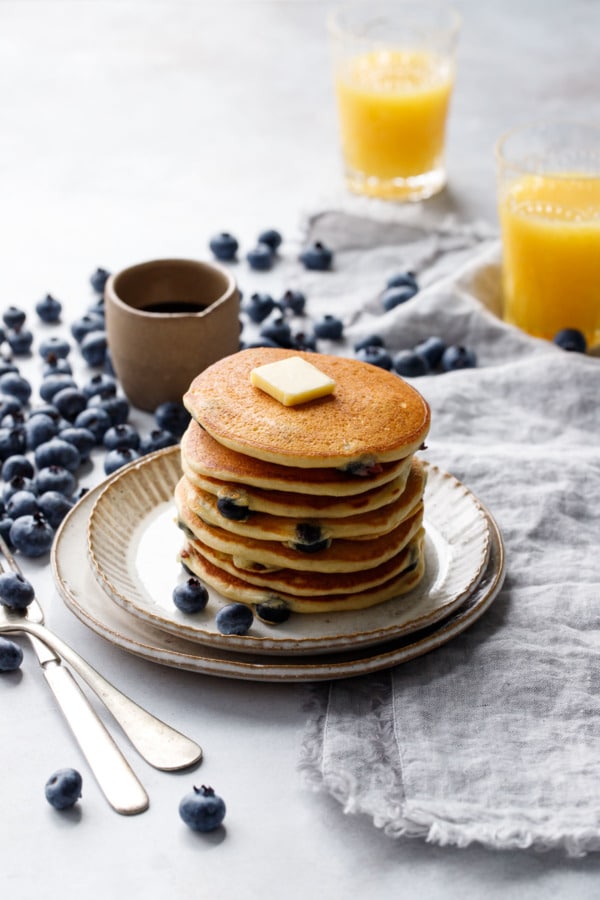
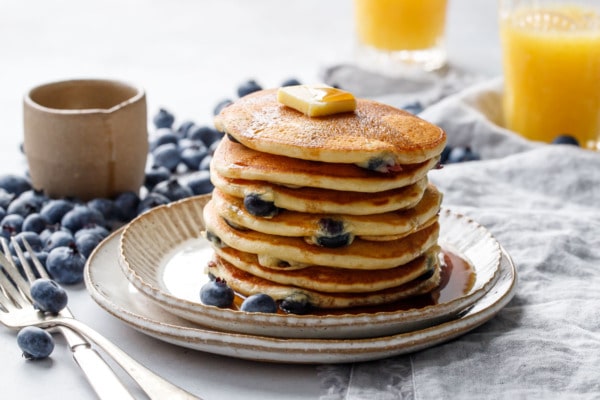
Using a dry non-stick skillet will give you perfectly flat, golden brown bottoms like the perfect stack of pancakes you see in commercials and stock photos.
Also, keep your temperature in check. The pancakes should take 2 to 3 full minutes per side; if they are browning faster than this, turn down your heat (otherwise you risk having brown bottoms and undercooked middles).
I use a Large cookie scoop (#60) to portion out my pancake batter, it’s the ideal size for perfectly proportional pancakes (approximately 4 inches or so). Unless you have one of those fancy funnel batter dispensers in which case you’re probably a pancake pro anyway and you don’t need my advice (can I come over for brunch?!)
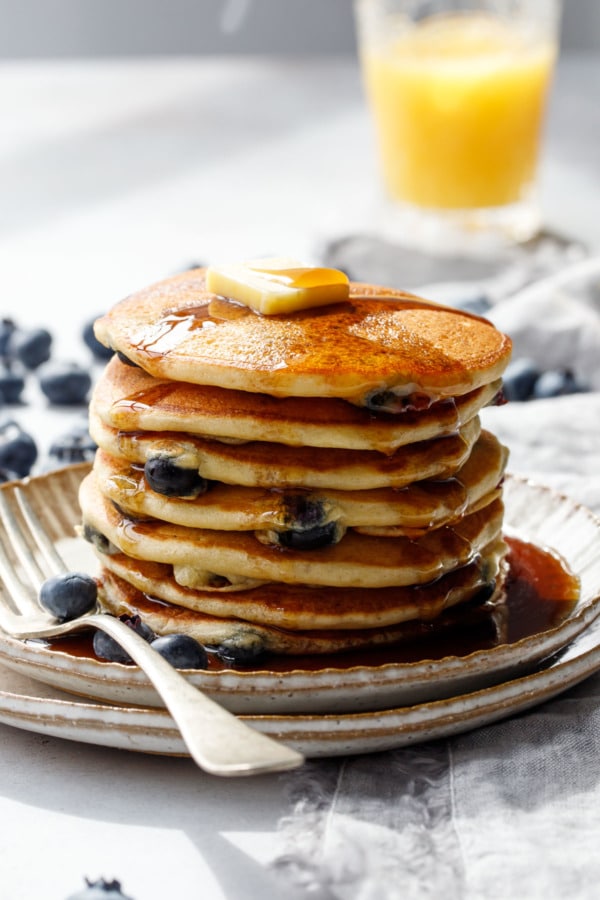
Unlike some sourdough pancake recipes, this one is mixed and cooked on the same day, without an extended rest (some recipes have you mix up part of the batter and let it sit overnight—a method I tested—but I personally didn’t like the flavor of this batch as much).
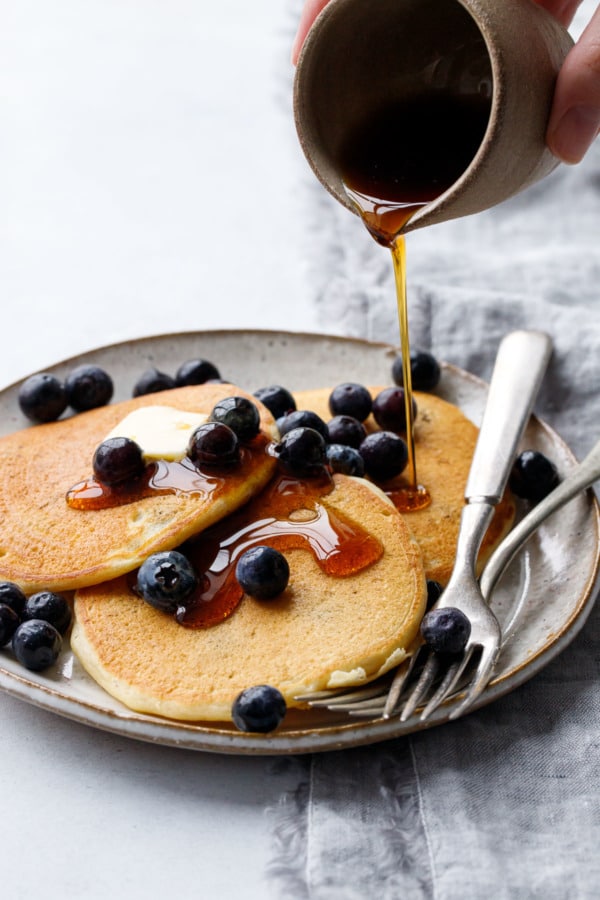
As for what stage sourdough starter to use here, I recommend 100% hydration sourdough discard that has passed its peak. Meaning, 8-12 hours after a sourdough starter is fed it will ‘peak’, at which point it is light and airy and bubbly. Once it starts to settle, having run out of food, the starter will fall and take on a runnier consistency. After which time it is ready for pancakes.
You can also collect sourdough discard in a separate container and store it in the fridge for weeks. I never feed my sourdough starter very much, so I don’t produce massive quantities of discard at one time. Rather, I’ll take the spoonful or two of discard after each feeding and collect it in a container in the fridge until I have enough to make something with, whether that be biscuits or crackers or, currently, these pancakes are my favorite use for it.
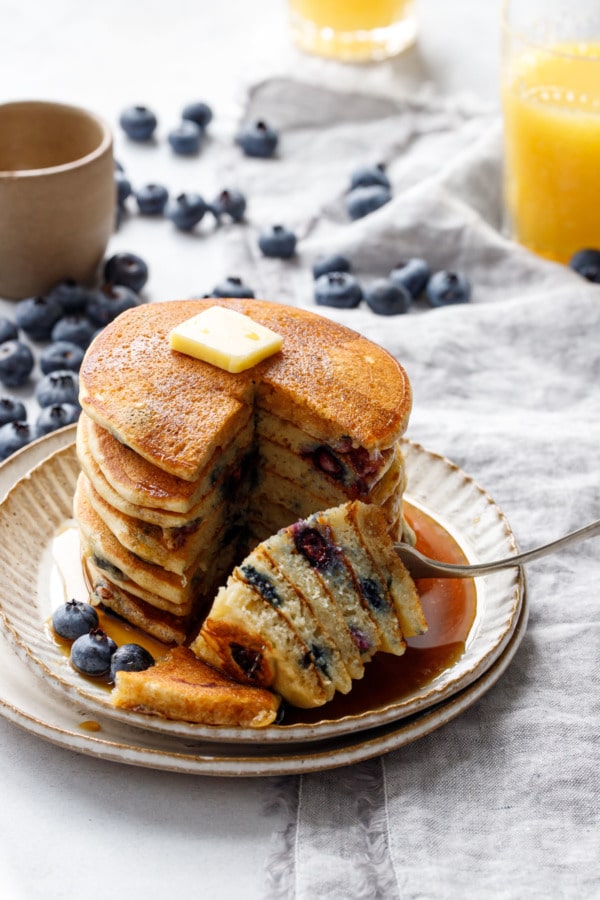
It doesn’t matter if your discard is all white flour or a mix of white and whole wheat or rye (though just know your pancakes will be slightly darker and denser the higher the proportion of whole wheat). My starter happens to be an all white starter, so that is what is used here and pictured in the final recipe.
Don’t have a sourdough starter? You can start one now and be making pancakes as early as this coming weekend! You can also buy dried sourdough starter from places like King Arthur Flour, which can greatly speed up the process as well.
While technically a sourdough starter is just equal parts flour and water (and thus 100g of starter could be replaced with 50g flour and 50g water), the resulting pancake won’t have the same nuanced flavor. The uniqueness of this recipe is a result of that extra something that the sourdough starter brings, so I don’t recommend replacing it.
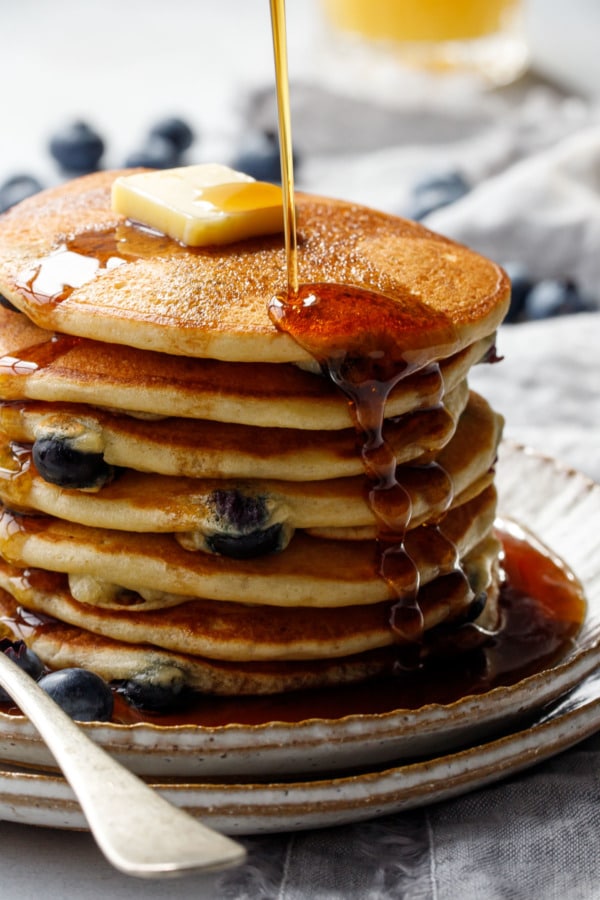
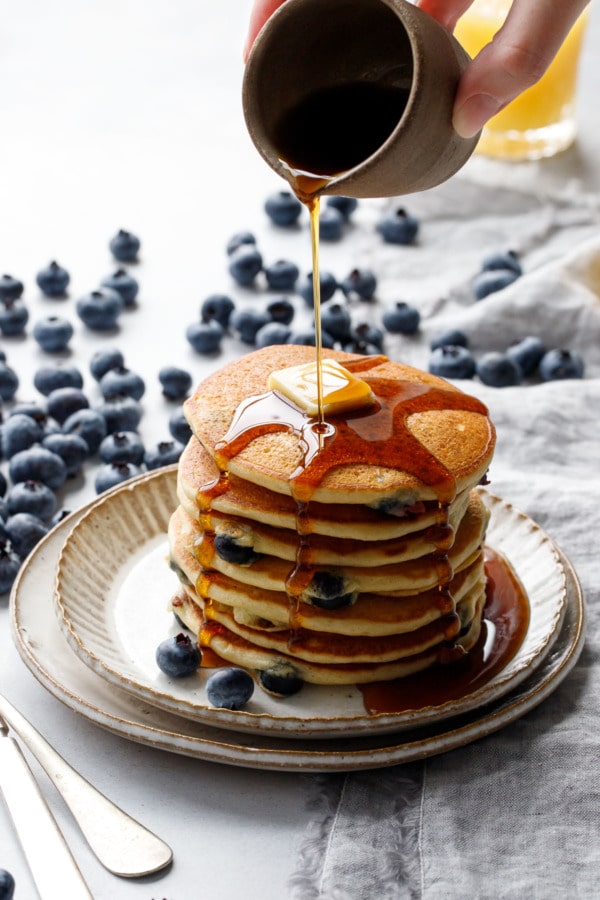
(I really like the drizzle shots… can you tell?)
This recipe is a fairly small batch of pancakes, 3-4 servings worth, but feel free to scale it up as you see fit.
While I opted for classic blueberry pancakes, the base recipe would be perfectly suitable for plain pancakes or different add-ins (chocolate chips, anyone?)
Yield: 12-14 pancakes
Blueberry Sourdough Pancakes
Total Time: 45 minutes
With a flavor somewhere between a classic buttermilk pancake and a slice of French toast (you can thank the sourdough starter for that), these sourdough pancakes are light, fluffy, and buttery with just a hint of sweetness.
Print Recipe
Leave a Review
Ingredients:
- 3/4 cup (90g) all-purpose flour
- 1 tablespoon (15g) granulated sugar
- 1/2 teaspoon baking soda
- 1/2 teaspoon kosher salt
- 1/2 cup (100g) mature sourdough starter, at room temperature
- 2/3 cup (160g) whole buttermilk, at room temperature
- 1 large egg, at room temperature
- 1 teaspoon vanilla extract
- 3 tablespoons unsalted butter, melted and cooled to lukewarm, plus more for cooking
- 1 cup fresh or frozen blueberries
Directions:
- In a mixing bowl, whisk together flour, sugar, baking soda, and salt until evenly incorporated. Add sourdough starter, buttermilk, egg and vanilla and whisk until no dry ingredients remain. Drizzle in lukewarm butter and stir until combined.
- Heat a nonstick skillet or griddle pan over medium heat. Be patient and let the pan come up to temperature fully.
- Add a little butter to the skillet if necessary (a good nonstick pan will barely need any butter at all).
- Ladle approximately 3 tablespoons of batter for each pancake (I use a Large cookie scoop for this), leaving enough space between pancakes so they don’t touch as they spread out.
- Drop 5-7 blueberries over the top of the pancakes while the batter is still raw.
- Cook for about 3 minutes or until bottoms are deep golden brown; flip and cook for another 2 to 3 minutes or until that side is browned as well. If you find your pancakes are browning more quickly, turn down the heat (you want the centers to have time to cook through).
- Transfer to serving plates and eat immediately, or place on a baking sheet in a 200 degree F oven to keep warm while you finish cooking the rest of the pancakes.
All images and text © Lindsay Landis / Love & Olive Oil
Did you make this recipe?
Let us know what you think!
Leave a Comment below or share a photo and tag me on Instagram with the hashtag #loveandoliveoil.


